Read this guide in
| 中文 | ภาษาไทย | 한국어 | tiếng Việt | 繁體中文 | Bahasa Indonesia | 日本語 | Español | Portuguese |
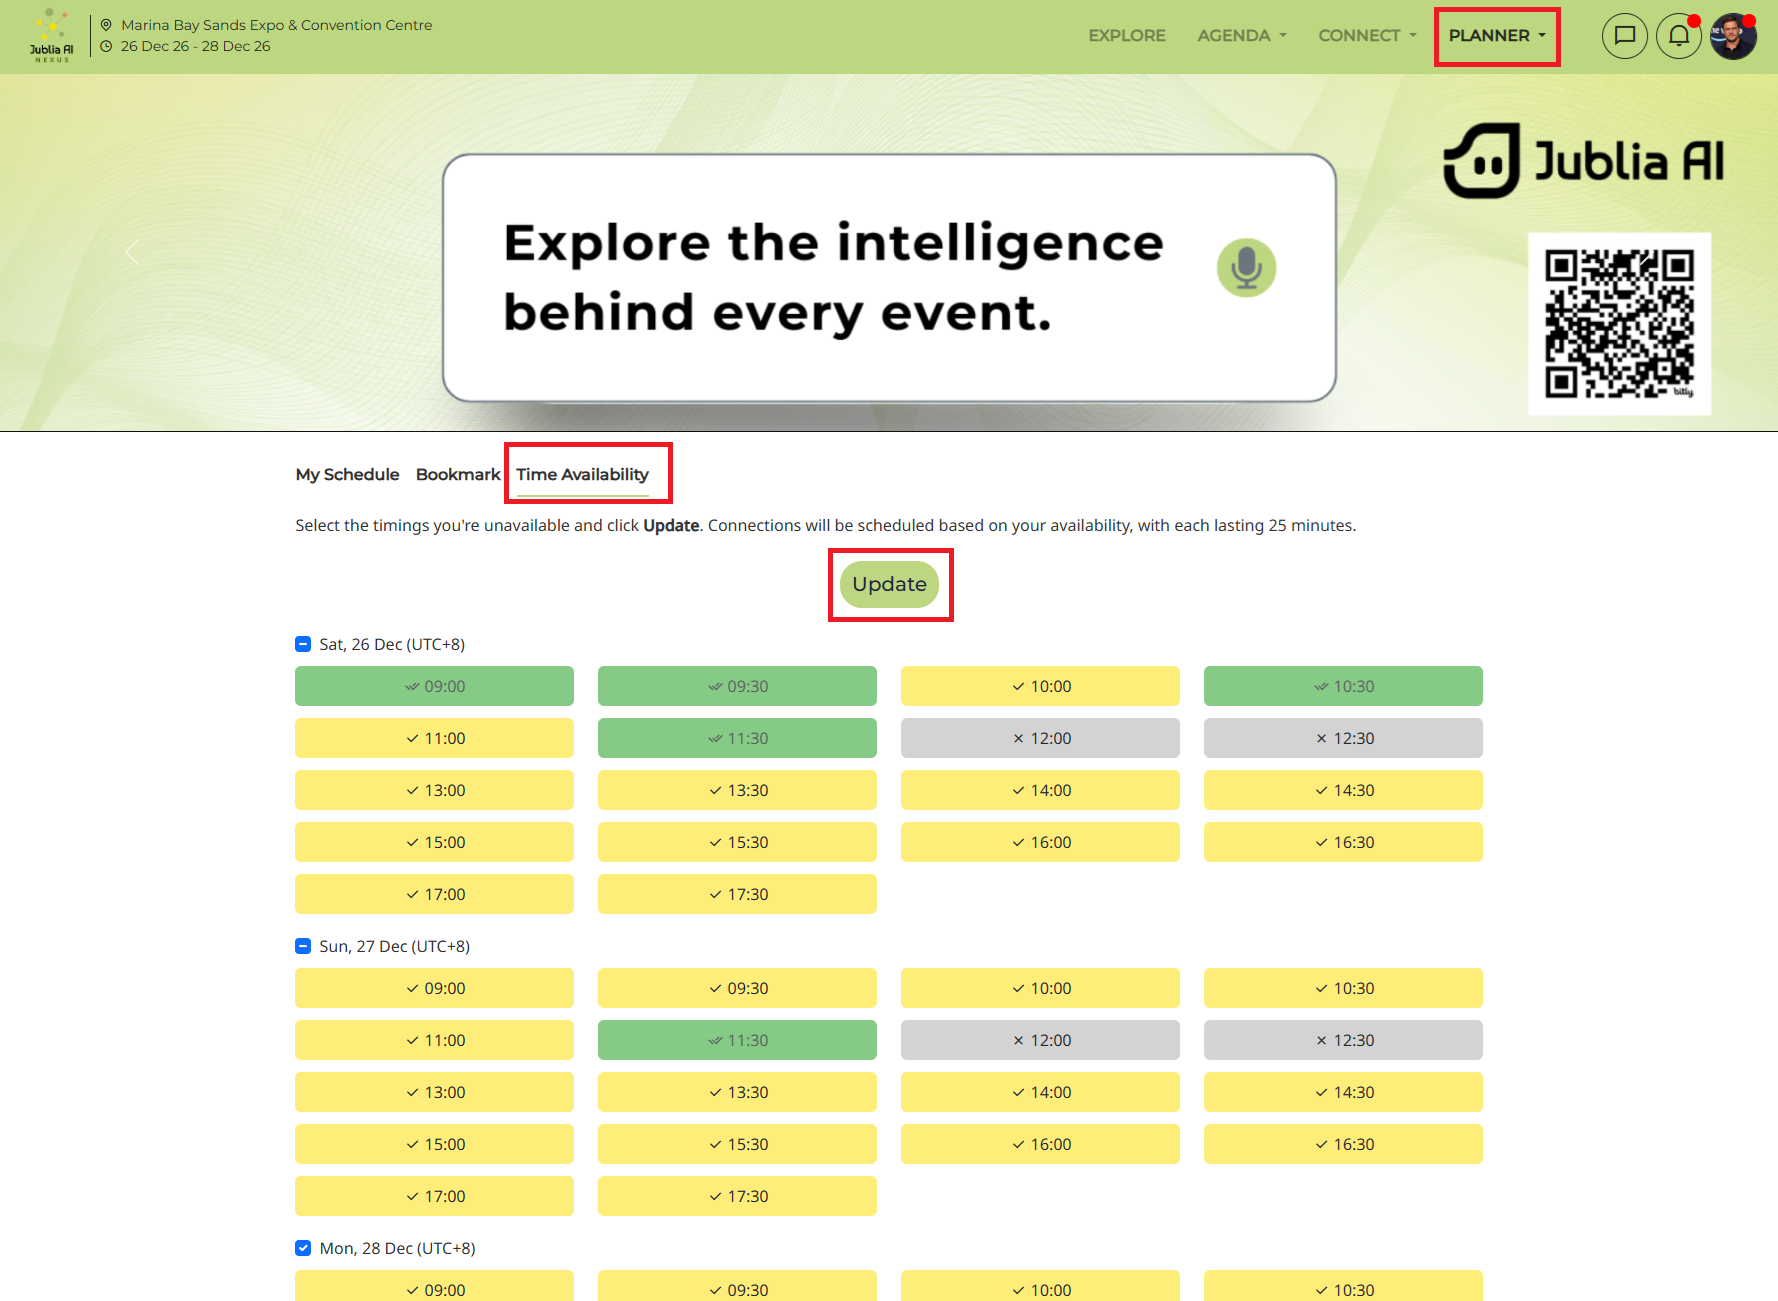
Go to the Planner page and then click on the Time Availability tab.
Select the time slots that you will not be available at by clicking on the particular time slot. The slot will then be greyed out with a cross.
Green indicates that the time slot has been scheduled for a meeting
Yellow indicates that the time slot is available
Grey indicates that the time slot is not available
Be sure to indicate your available meeting slots and confirm your schedule before exploring the platform. This will ensure that all your meetings are scheduled within your available time frame.
Click on Confirm to save your time availability.
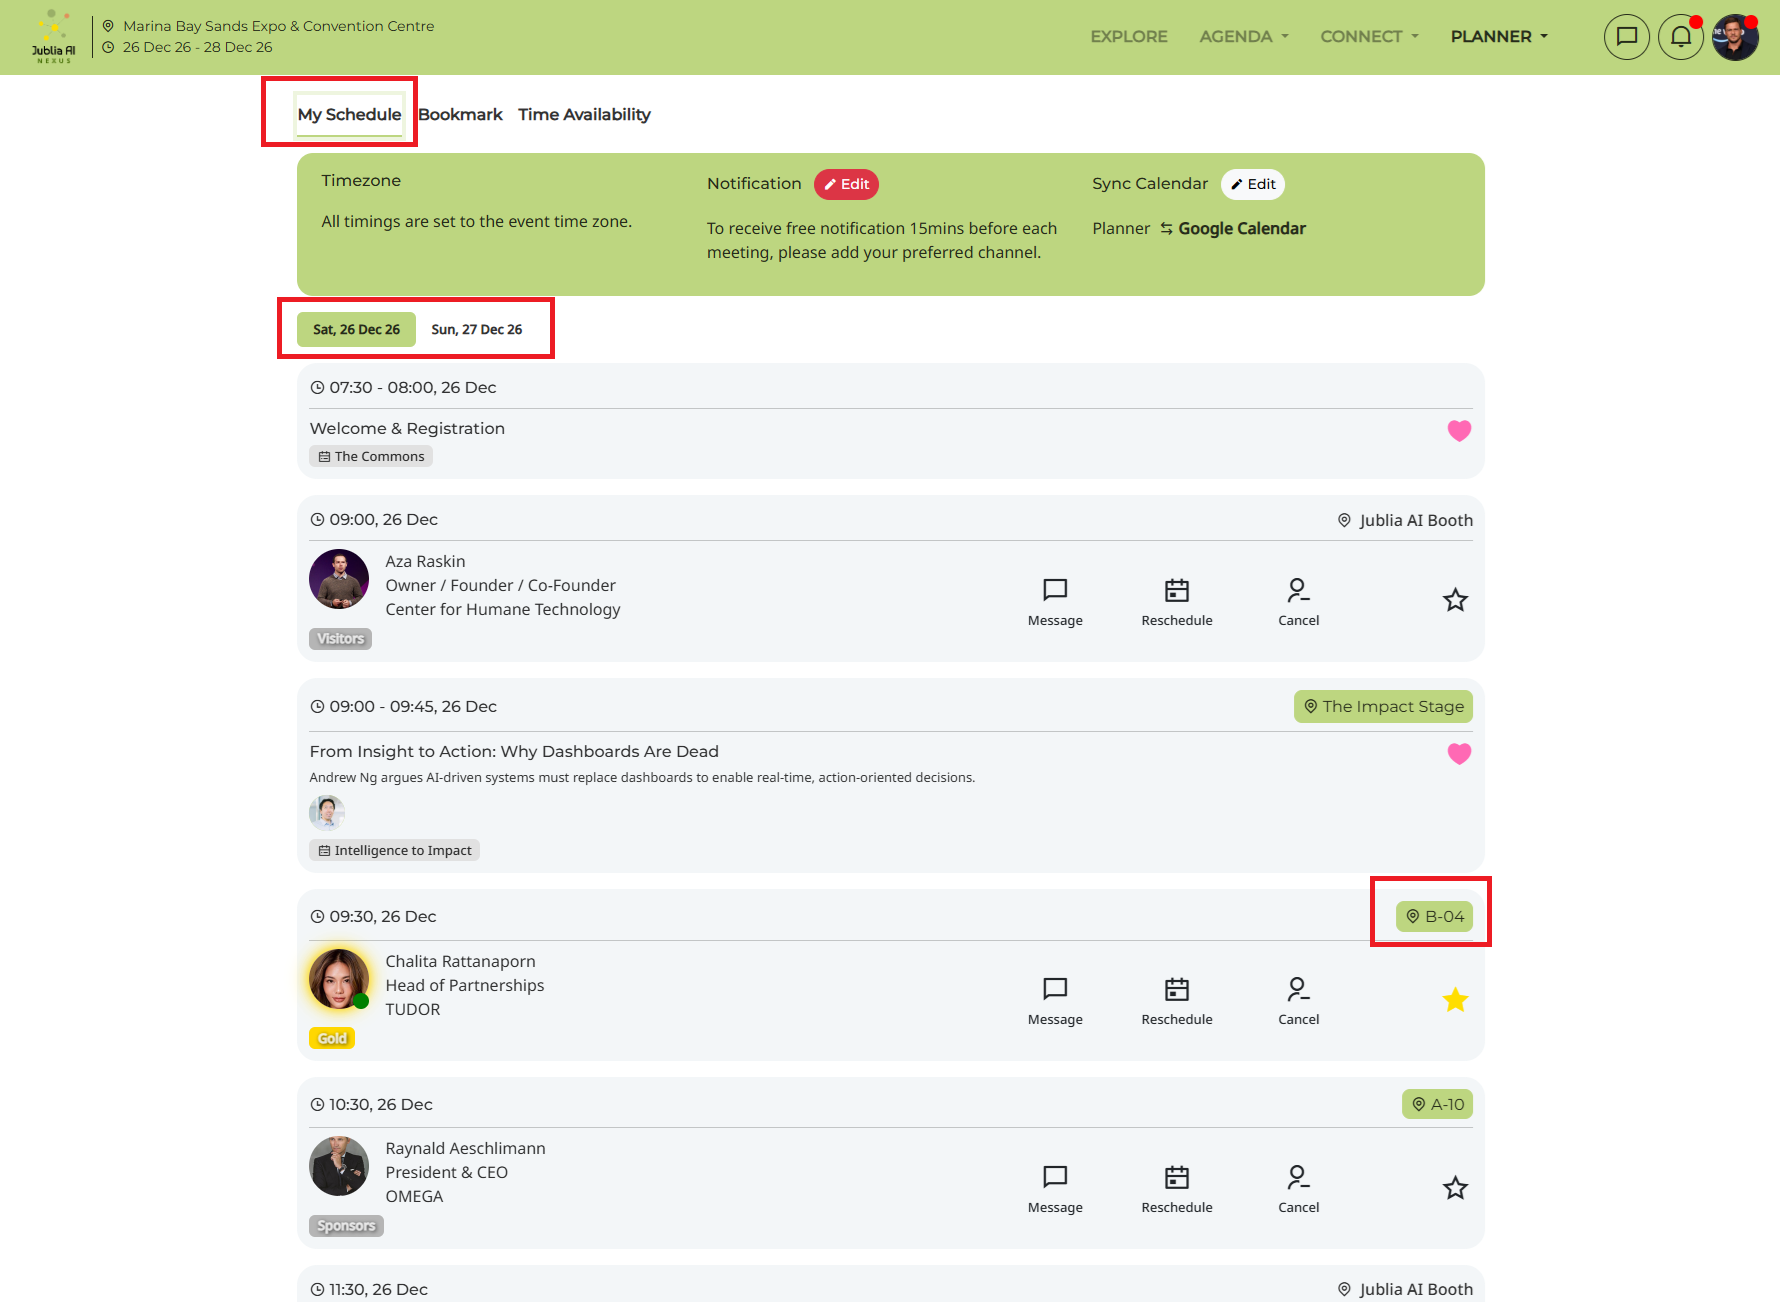
Under the Planner page, click My Schedule.
View your confirmed meetings (including location, time, and date) and favorite sessions.
Pending meetings mean one or both parties haven't confirmed time availability.
A final schedule of confirmed meetings will be sent before the event.
You can easily import the final schedule into your preferred calendar.
Go to the Planner page and choose the My Schedule tab
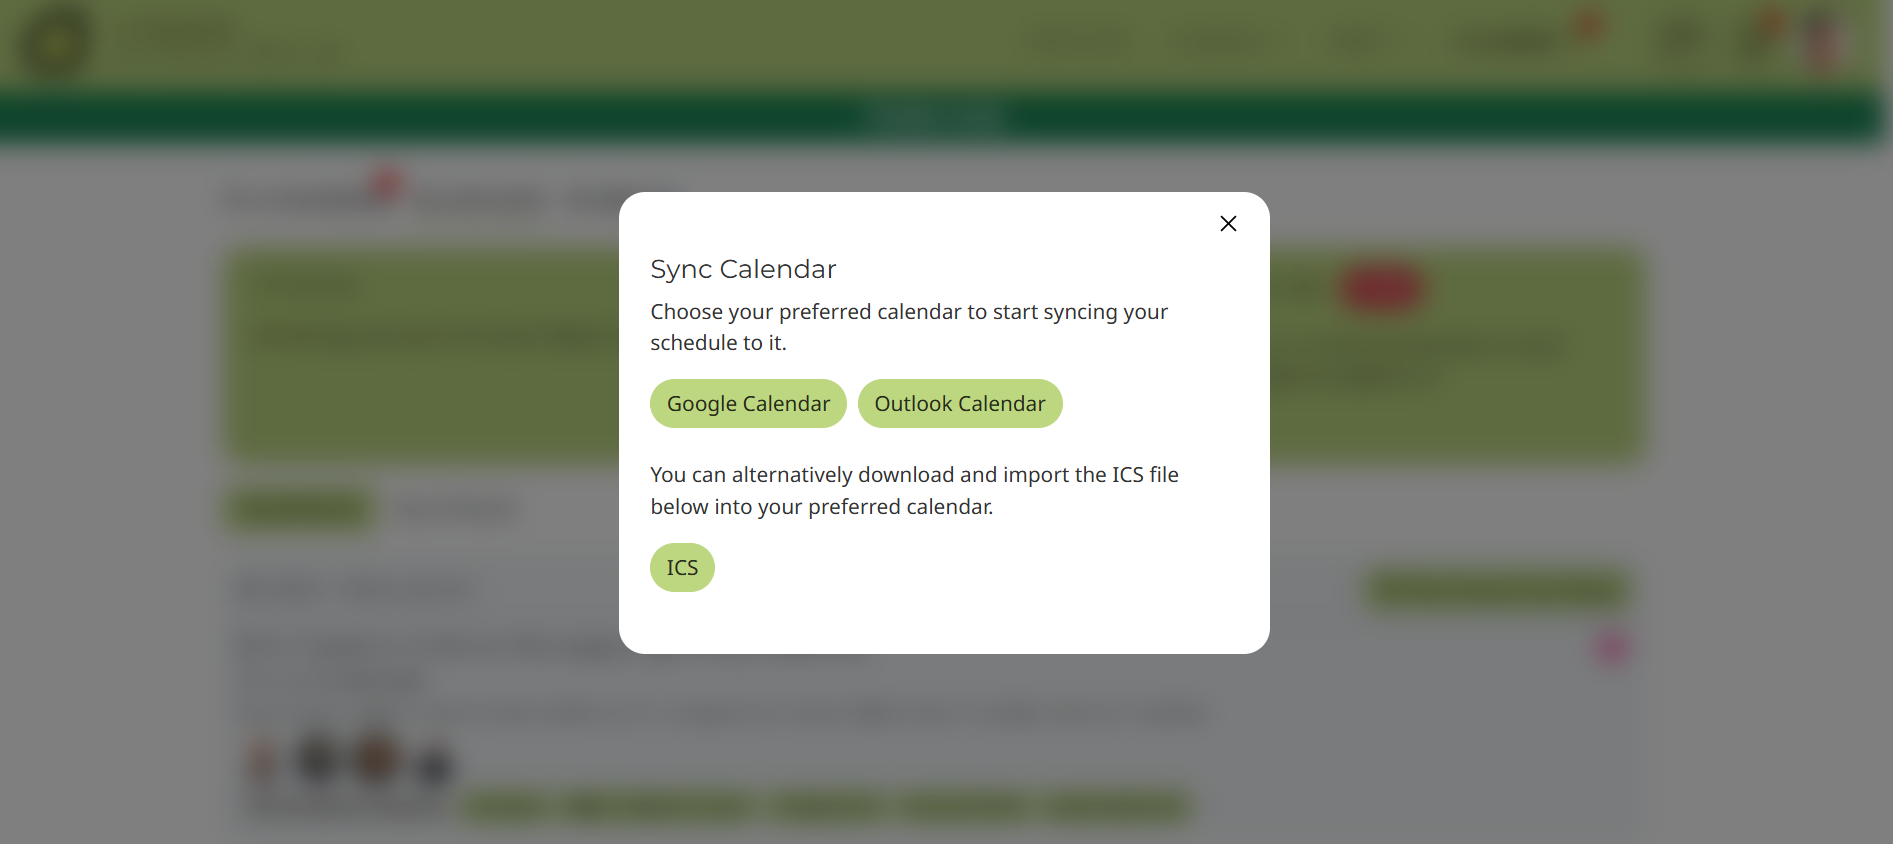
Click on the Edit button on the Sync Calendar section
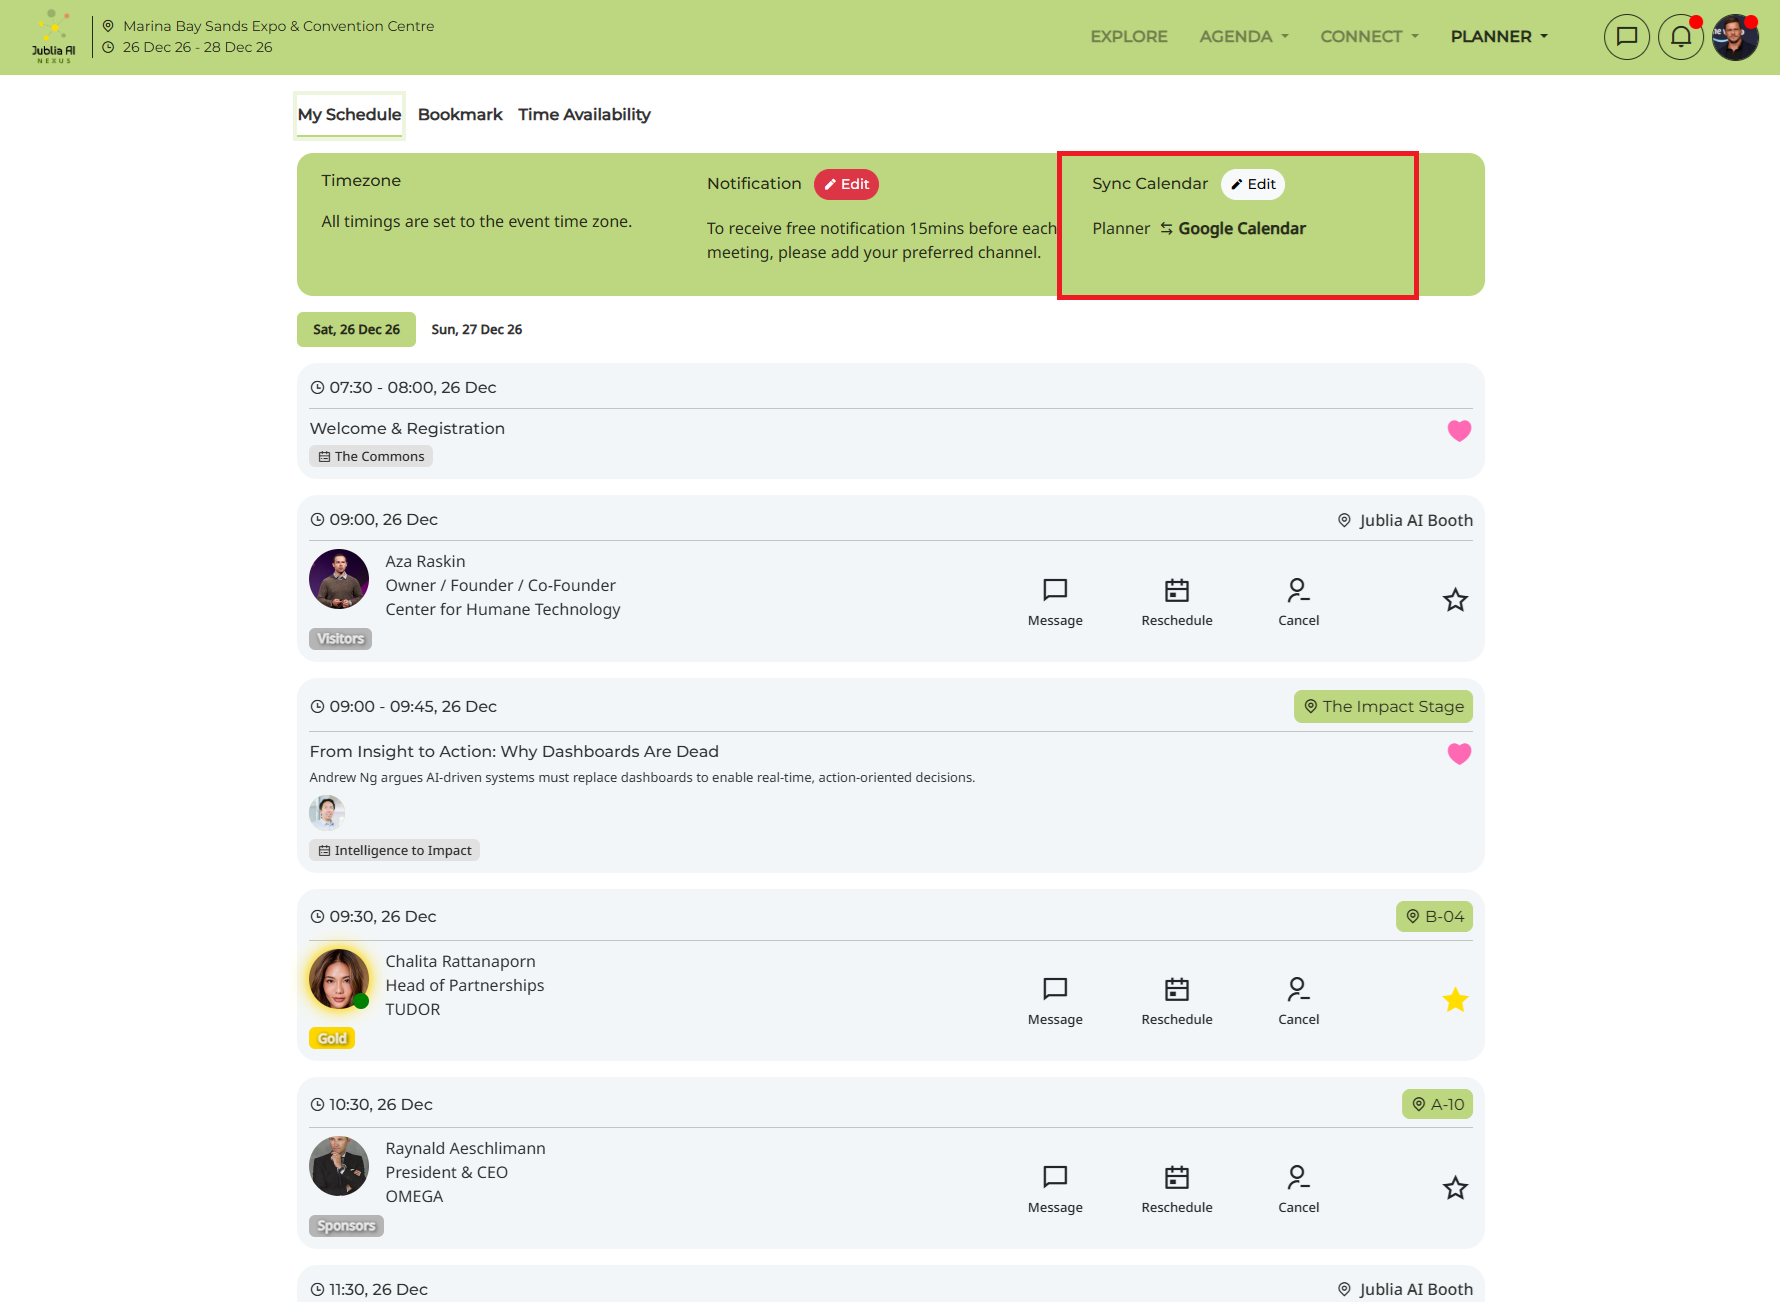
You may choose to sync your schedule with your Google Calendar, Outlook Calendar or you can also download and import the ICS file into your preferred calendar.
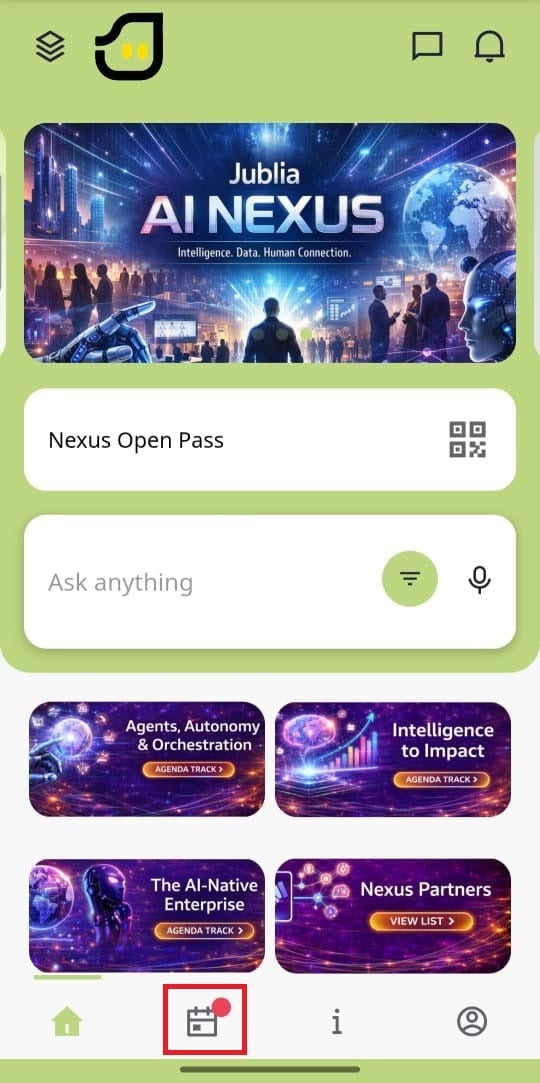
From the Home menu, tap the Planner menu located on the bottom navigation bar.
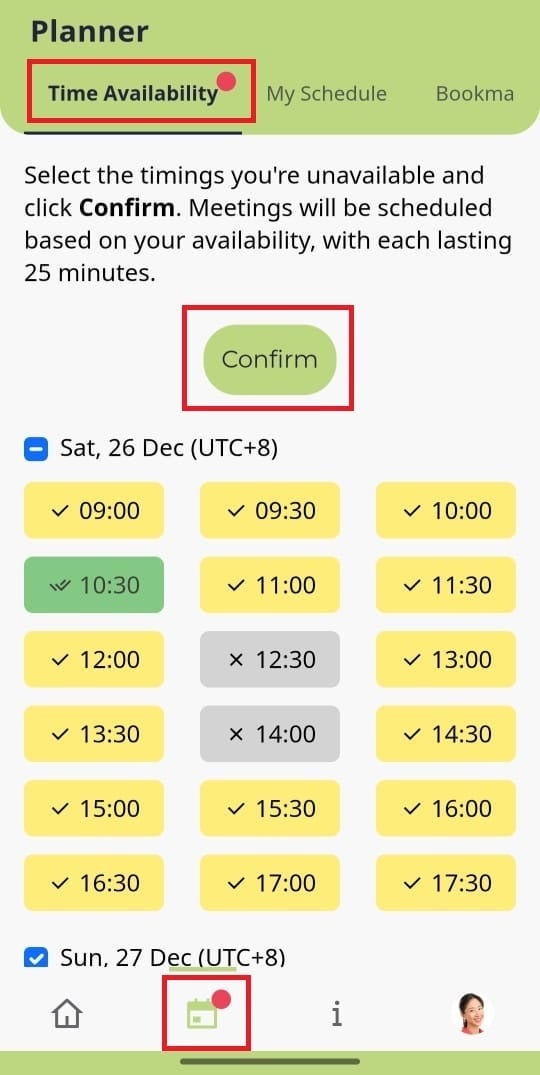
Select the time slots that you will not be available at by clicking on the particular time slot. The slot will then be greyed out with a cross.
Green indicates that the time slot has been scheduled for a meeting
Yellow indicates that the time slot is available
Grey indicates that the time slot is not available
Be sure to indicate your available meeting slots and confirm your schedule before exploring the platform. This will ensure that all your meetings are scheduled within your available time frame.
Click on Confirm to save your time availability.
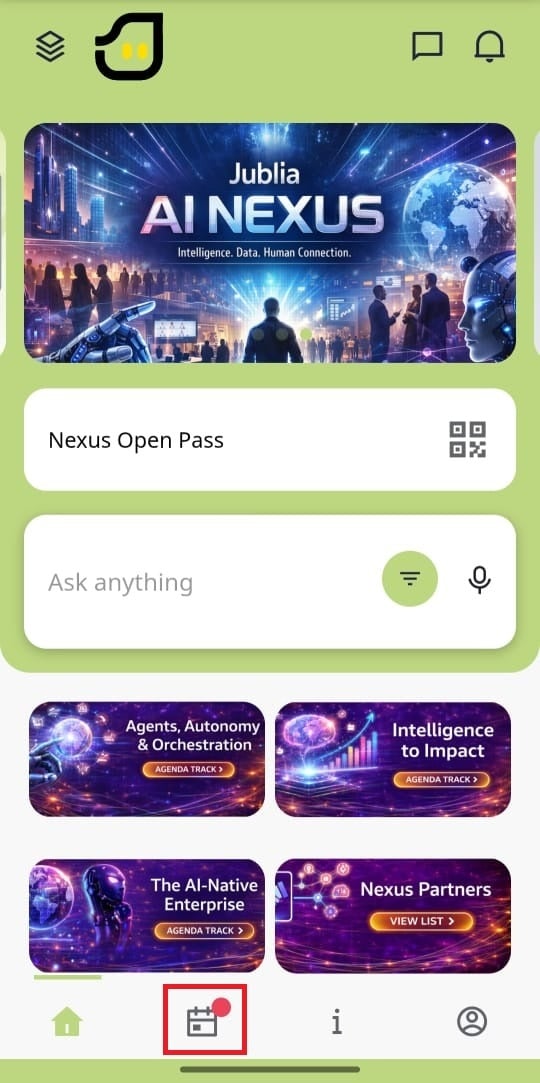
From the Home menu, open the Planner menu located on the bottom navigation bar.
In the Planner menu, choose the My Schedule tab
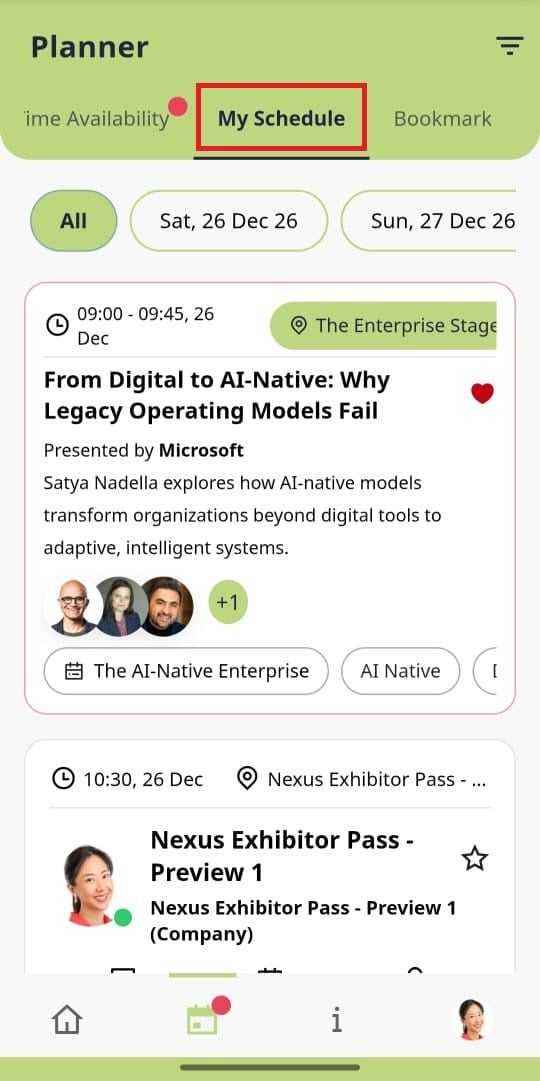
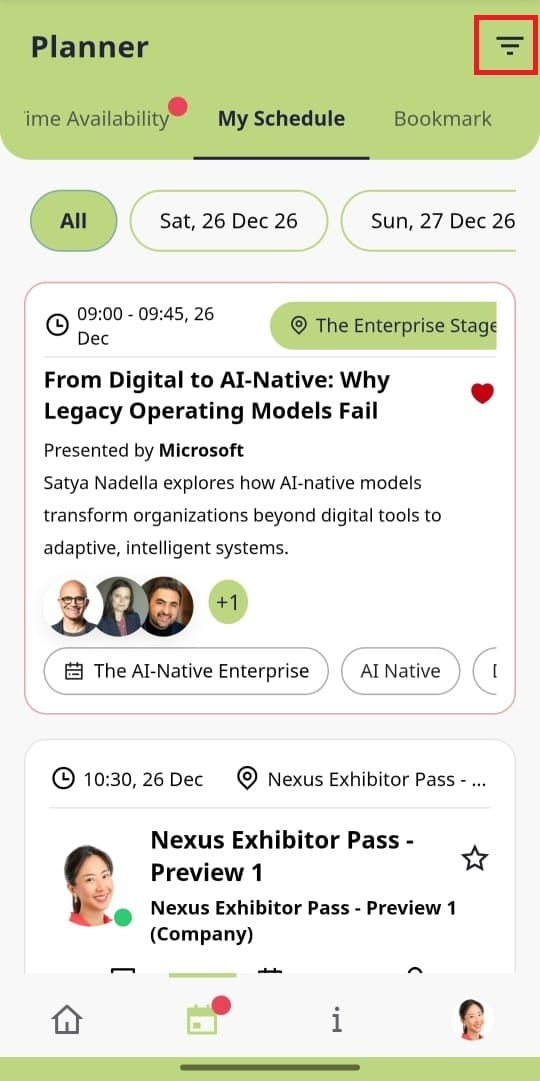
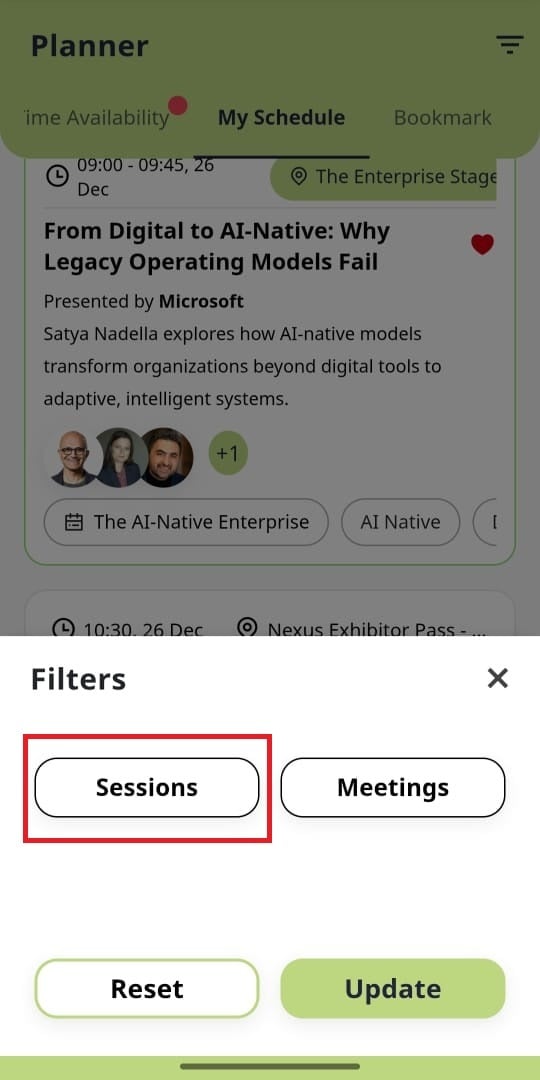
Click on filter icon on the top right corner and select Sessions and click Update
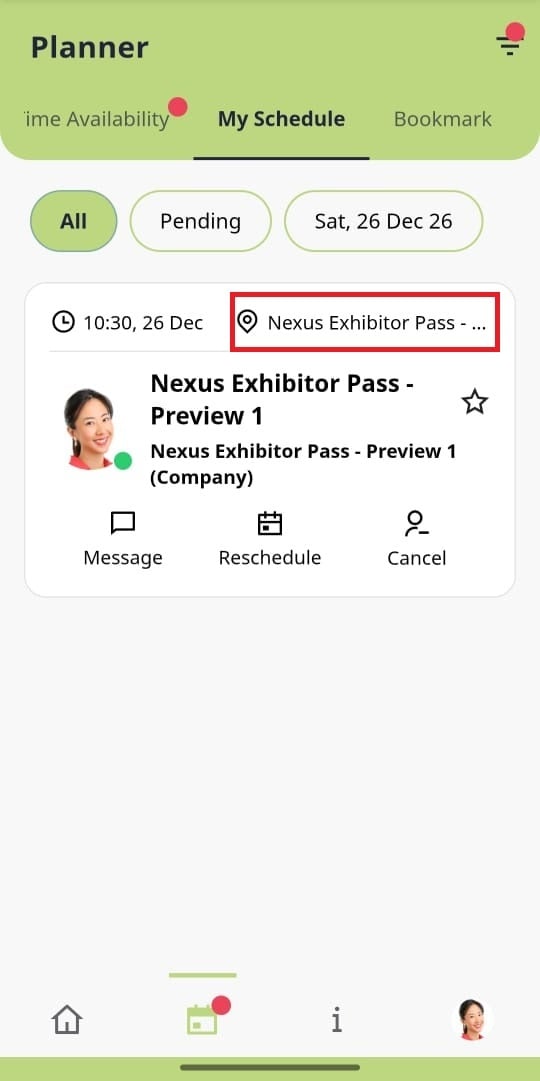
Click the location pointer in the top right corner, it will direct you to the Session location.

On the Home Menu, open the Planner menu on the bottom navigation bar
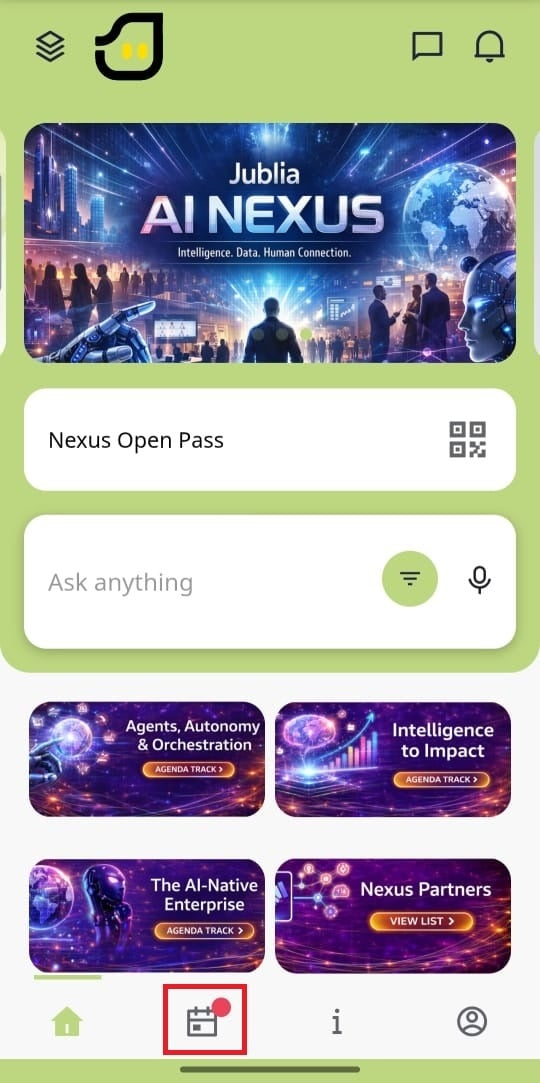
Select My Schedule on the Planner menu
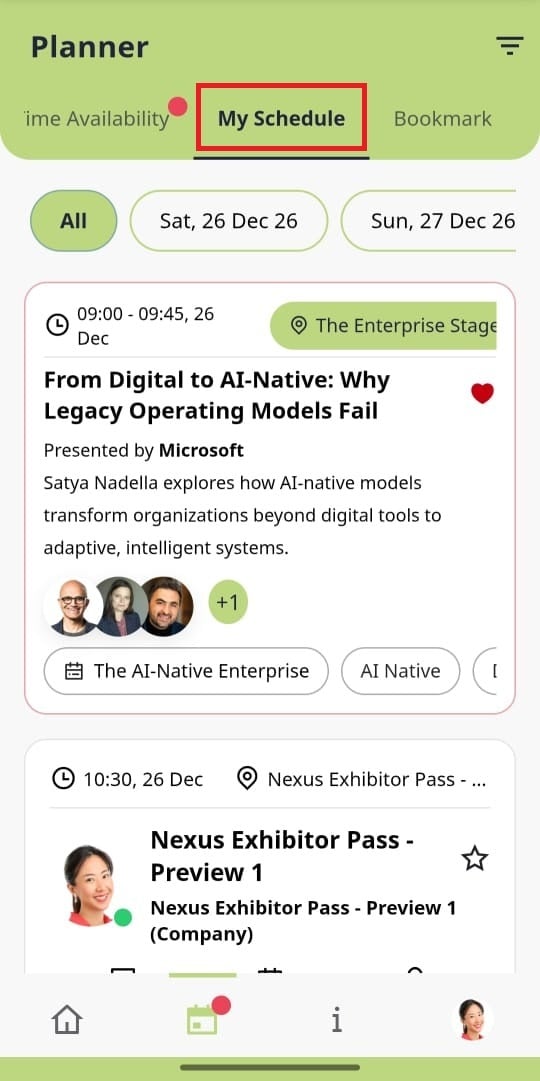
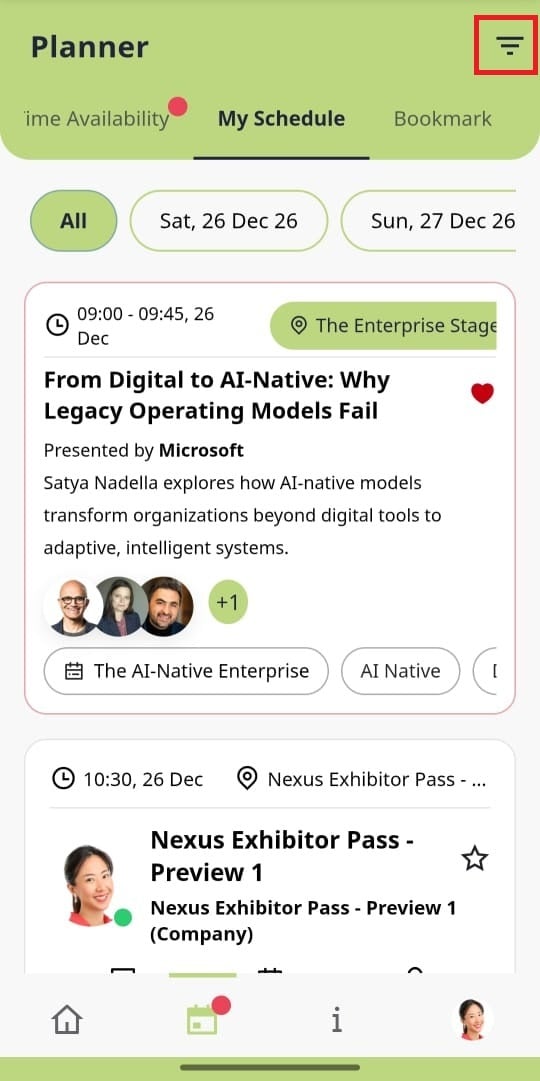
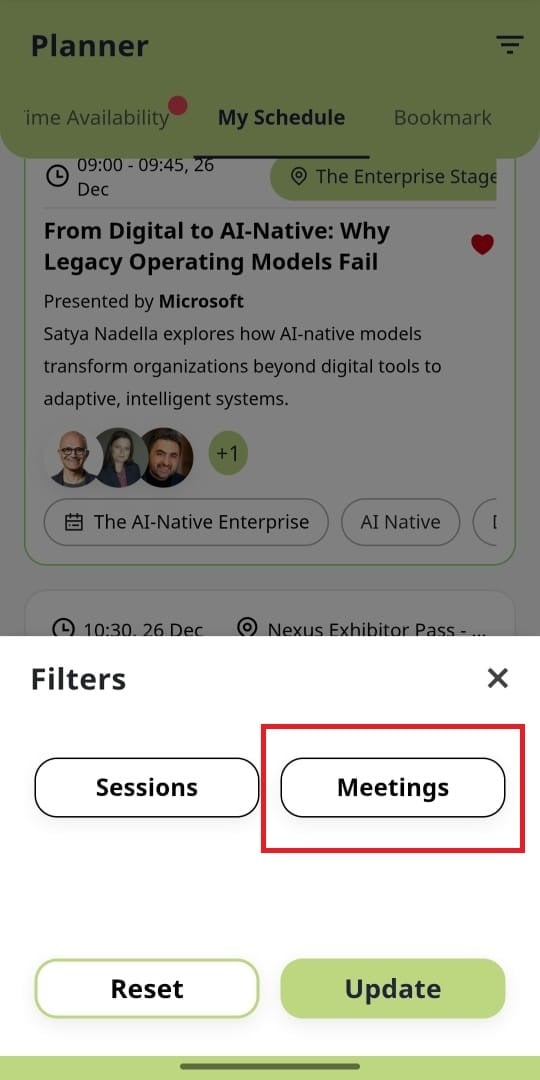
Click on filter icon on the top right corner and select Meetings and click Update
Click the location pointer in the top right corner, or access the meeting details and select Locate Meeting