Read this guide in
| 中文 | ภาษาไทย | 한국어 | tiếng Việt | 繁體中文 | Bahasa Indonesia | 日本語 | Español | Portuguese |
Before exploring the scan features, it is important to understand the two user roles related to scanning access:
Users assigned the Admin role can trigger the sending of leads to their email. Only Admins are eligible to export analytics.
Users with the Staff role can view scanned leads and update lead status or add notes. However, they do not have the ability to export data.
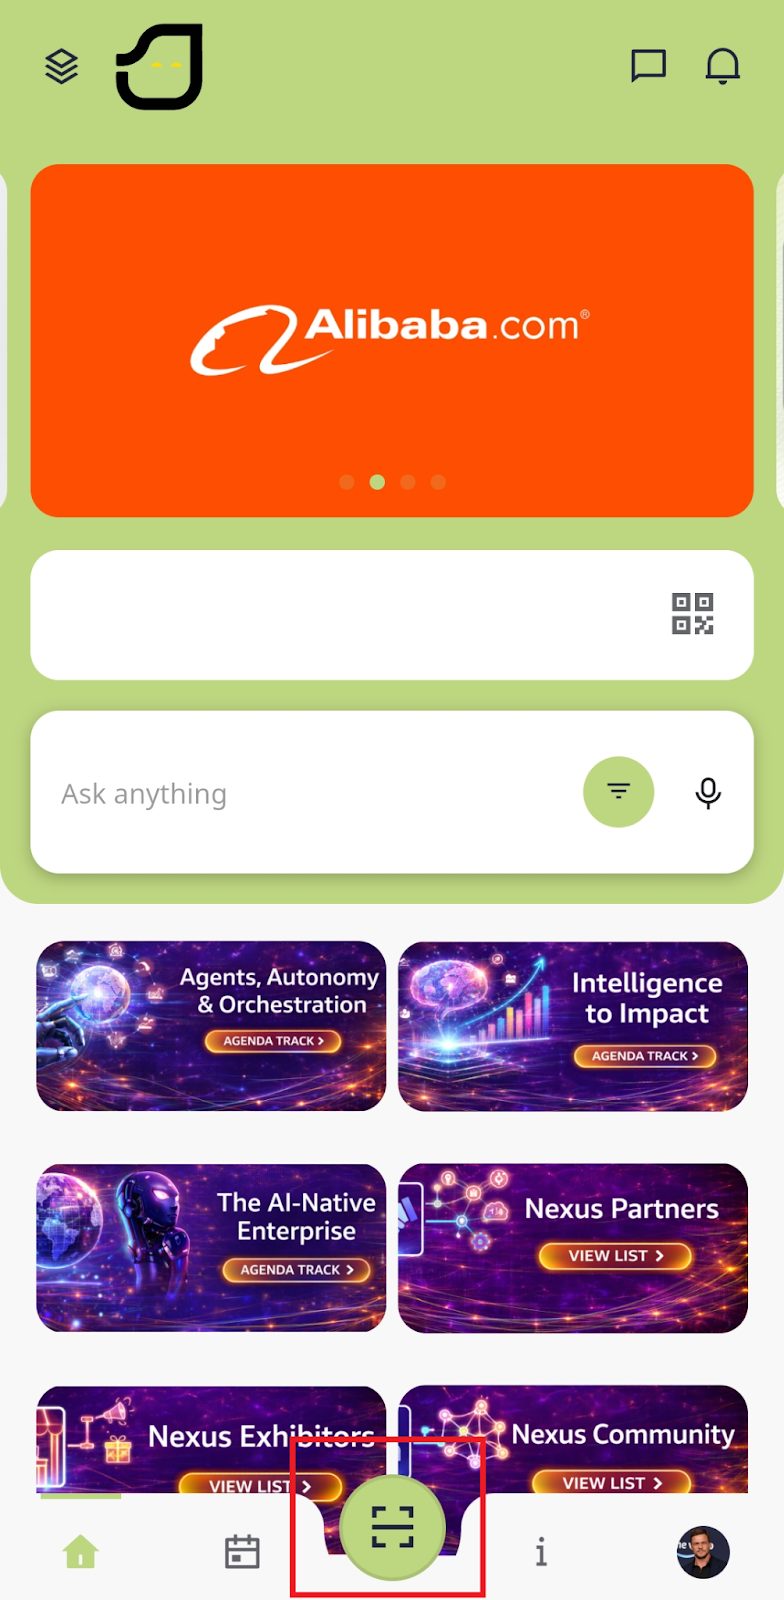
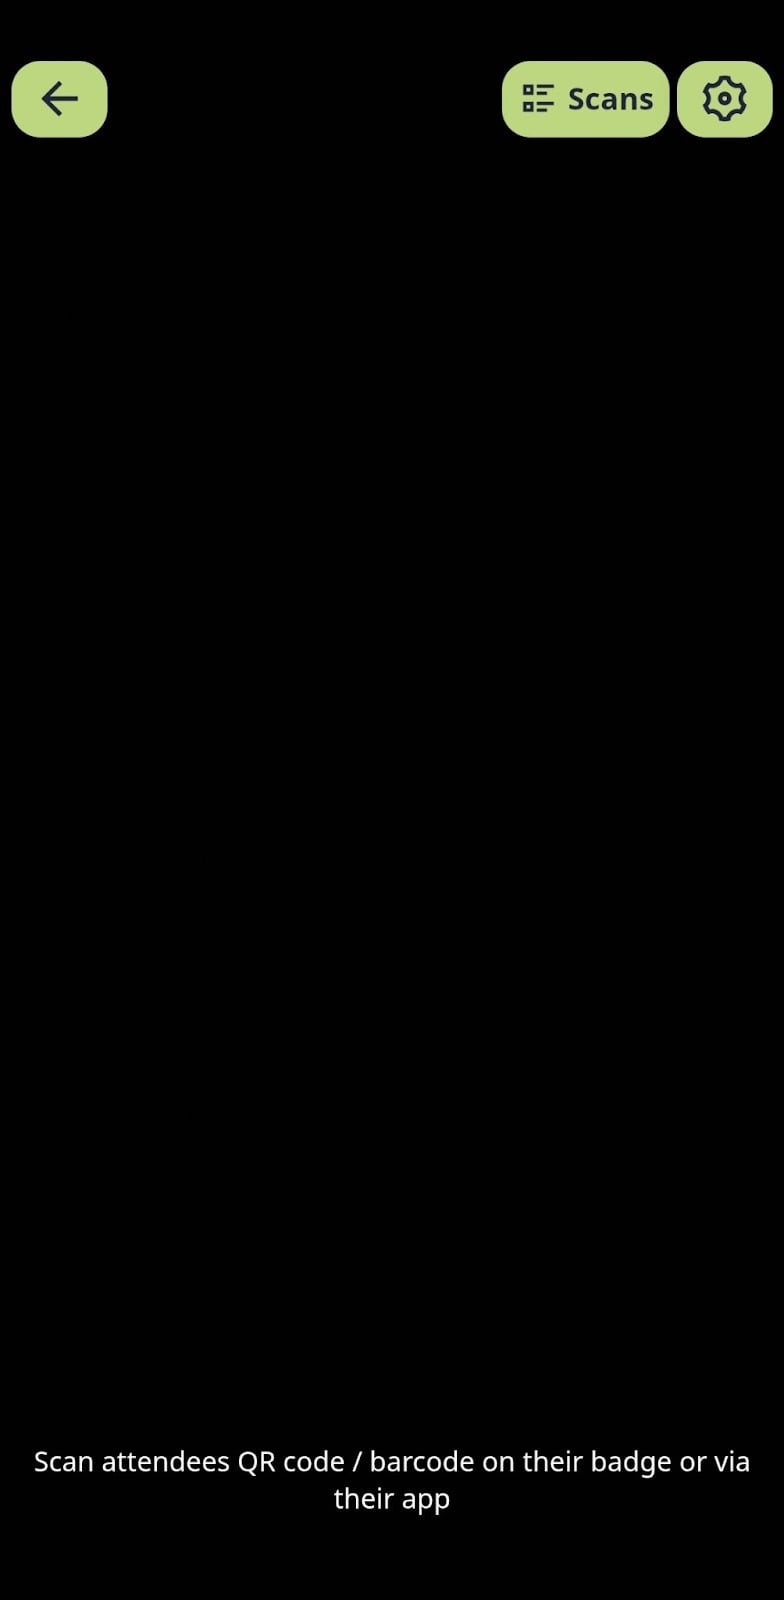
Open the [Scan] menu from the middle of the bottom navigation bar. The scanner interface will appear.
Ensure the app has camera access, then point your camera at the attendee’s QR code.
The app will capture the QR code and record the lead.
Save the record to add to the leads.
Open the [Scan] menu from the middle of the bottom navigation bar.
Click the [Gear / Settings] icon and set the Quick Scan toggle to [Enable].
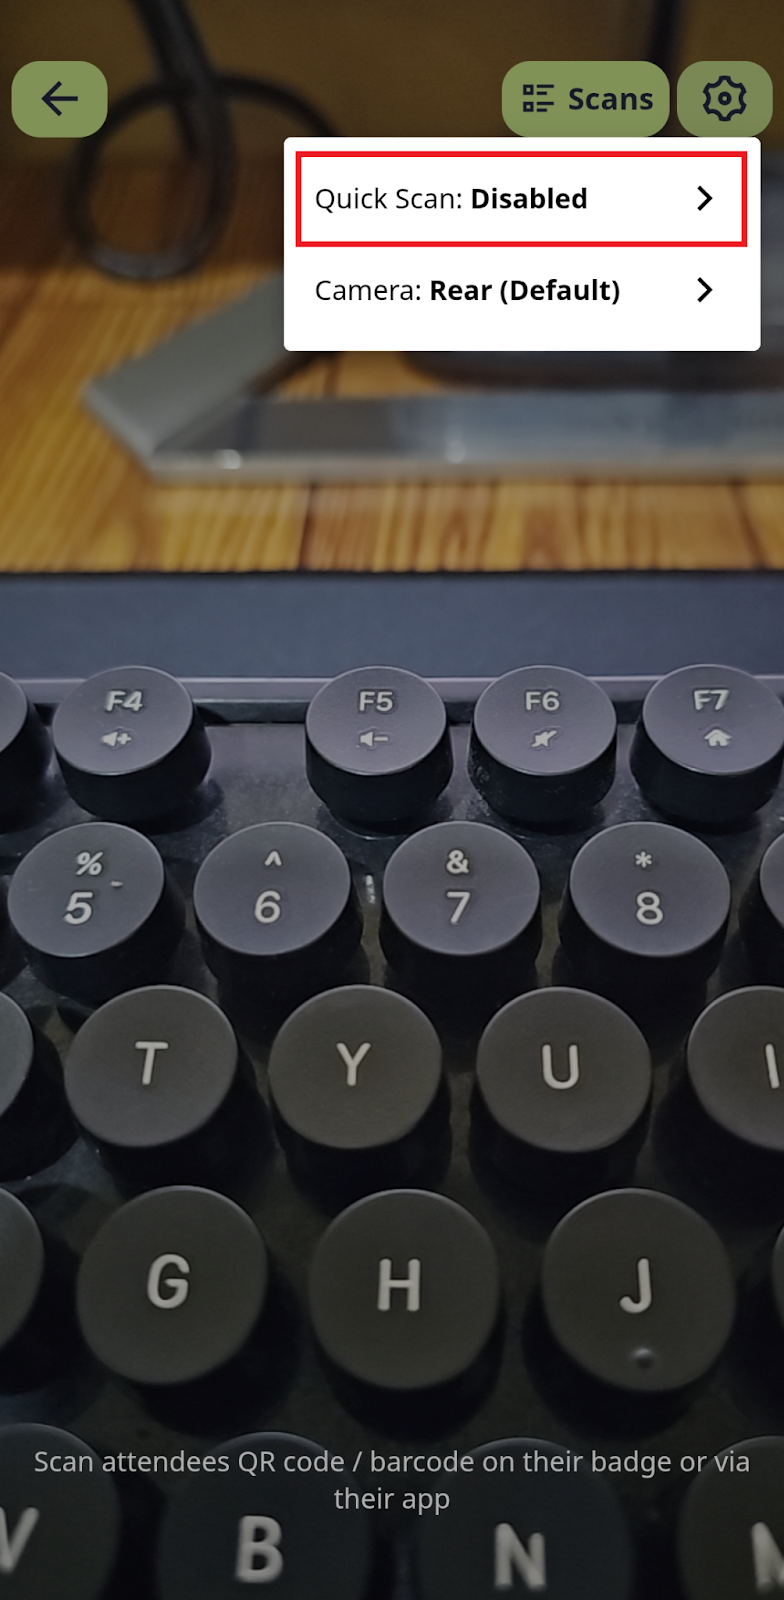
Your scanner will now process QR codes faster without showing the details screen immediately.
Open the [Scan] menu and click the [Gear / Settings] icon.
Set the camera view to [Front] or [Rear] (default).
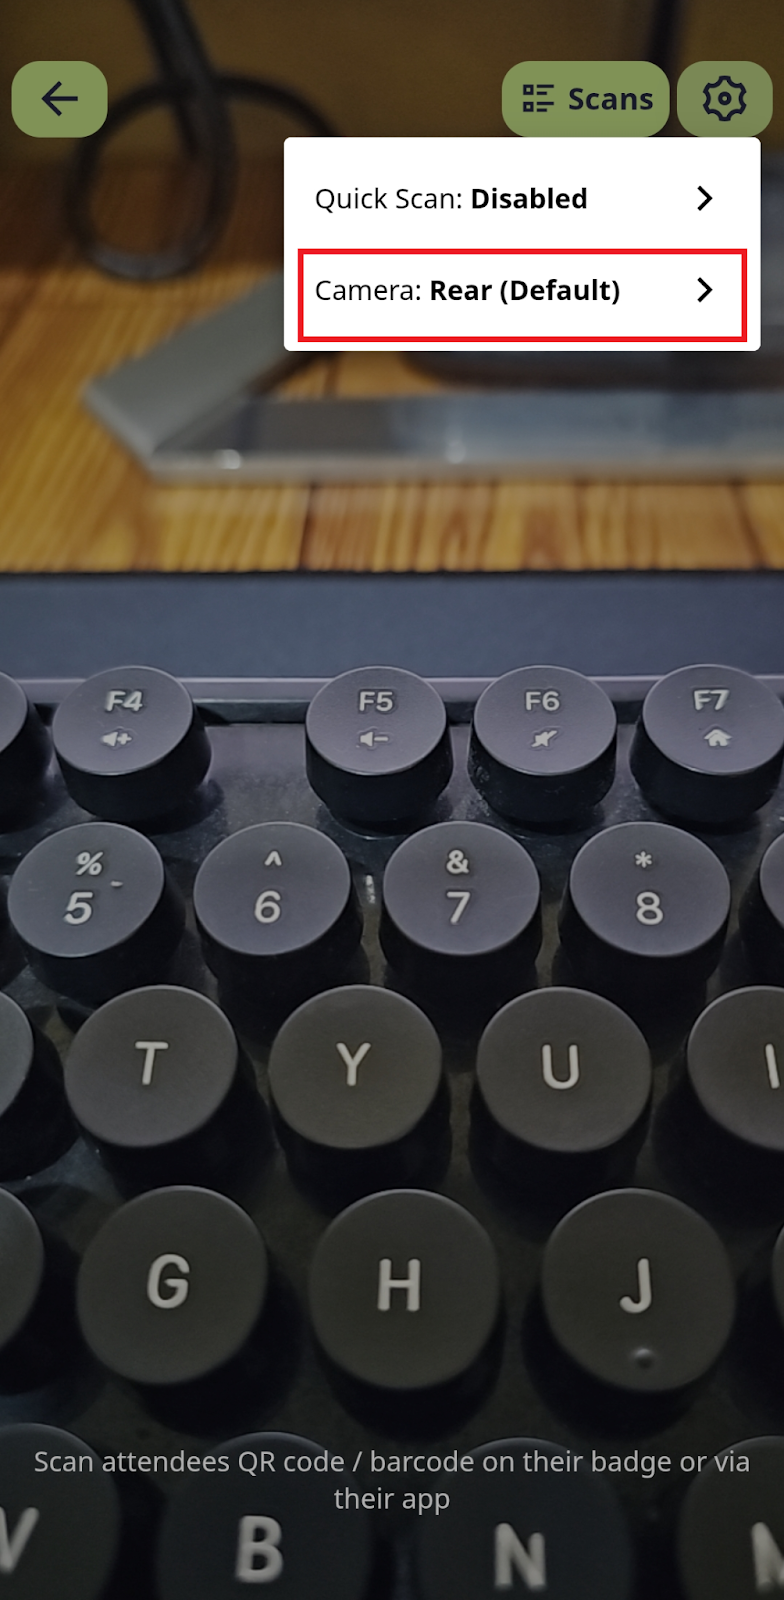
The camera perspective will change accordingly.
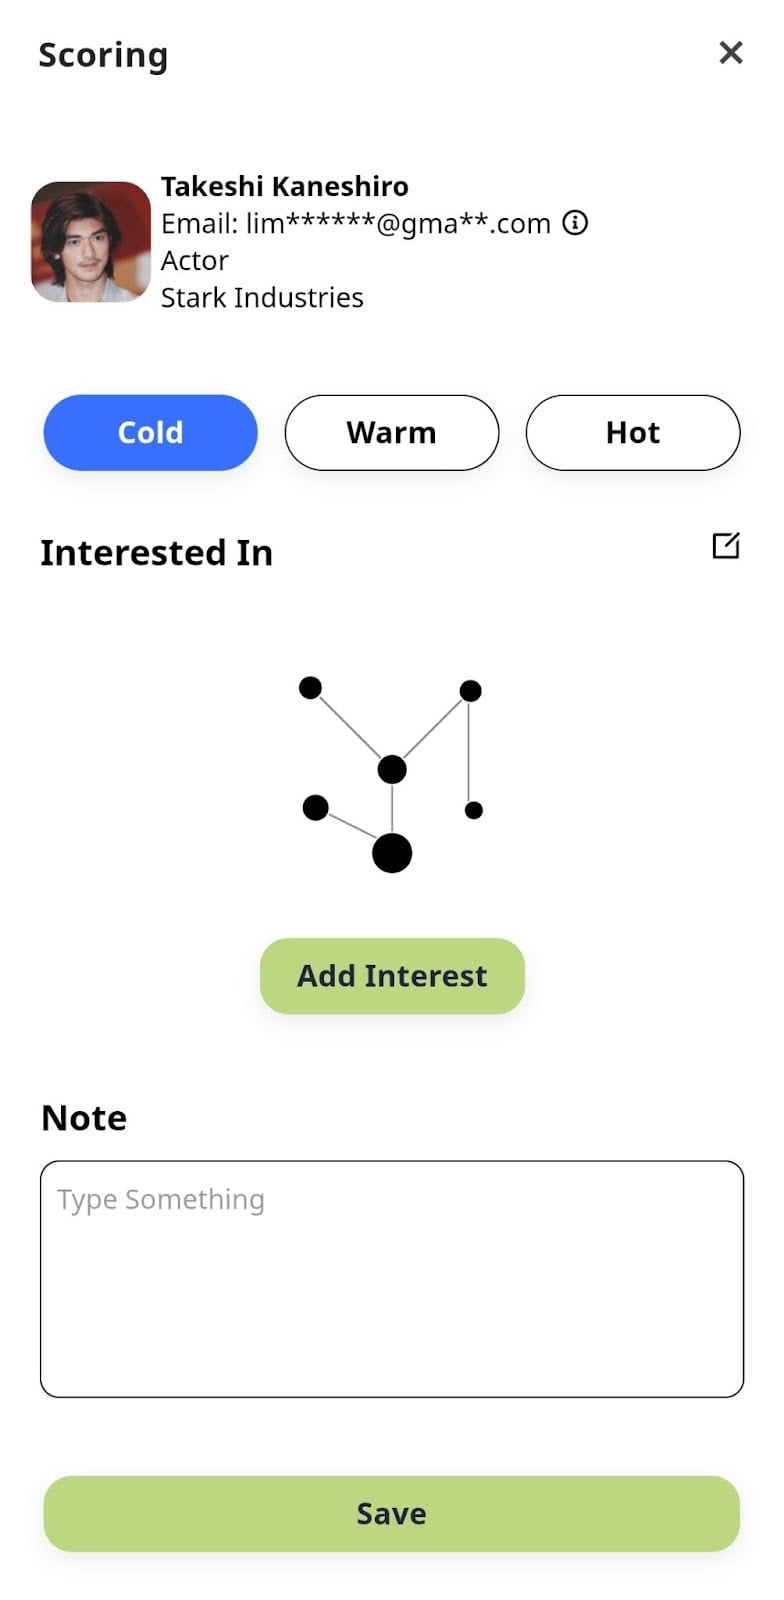
Scoring helps you categorize potential customers. The definitions are:
Hot: The target person is inside the scanner recommendation list and has product interest towards one of your company’s products.
Warm: Has either one of the conditions above.
Cold: Has neither of the conditions above.
Unscored: Not identified yet by the scanner or does not have any score.
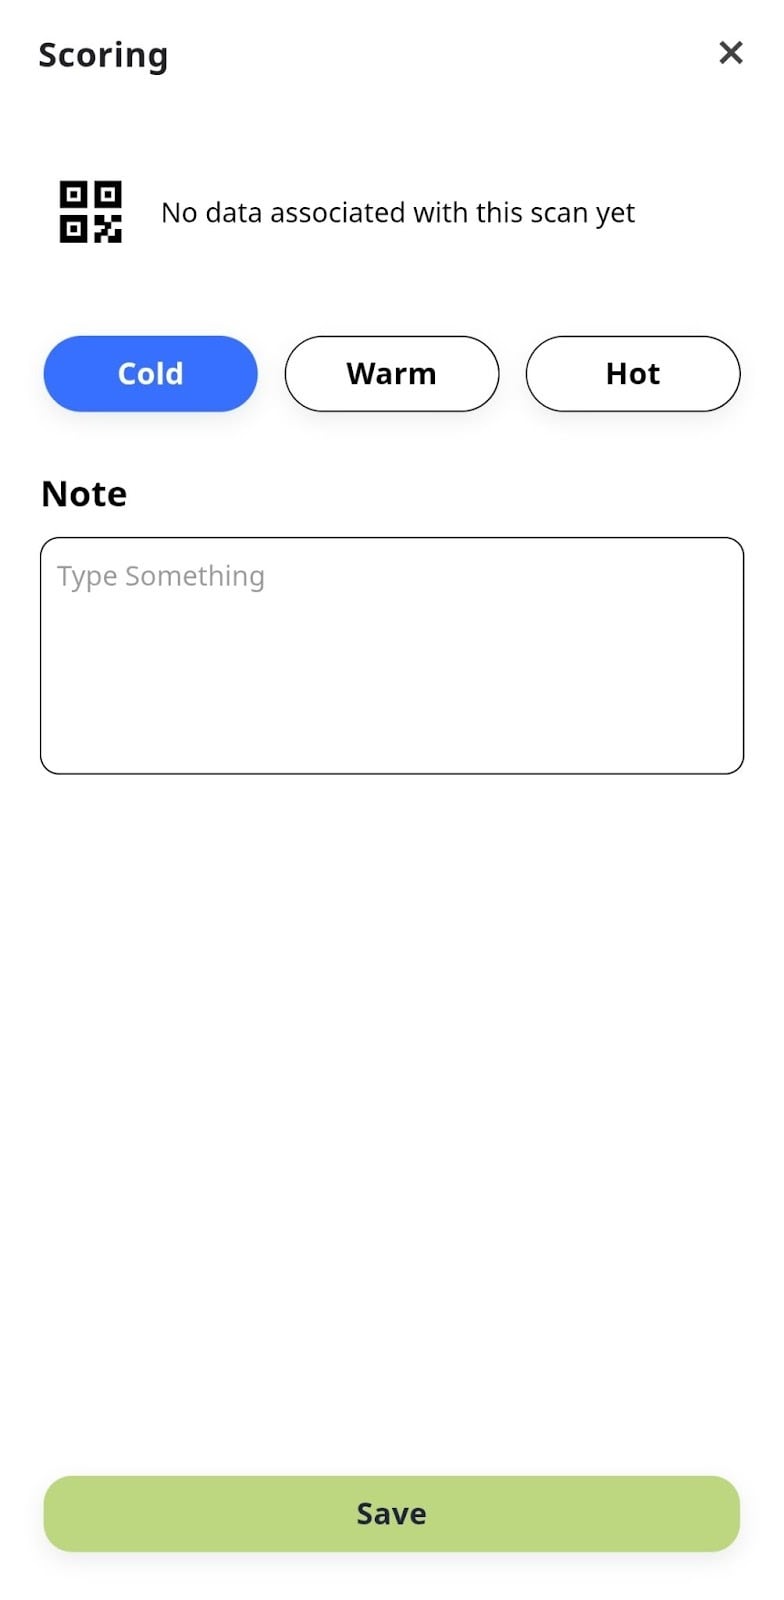
Choose the score ([Hot], [Warm], or [Cold]) that best fits your scanned lead.
Add the interest can enhance your lead's score by clicking the [Add Interest] button and select the product your lead is interested in, then tap [Update].
For easier tracking, type a note in the [Note] section and click [Save].
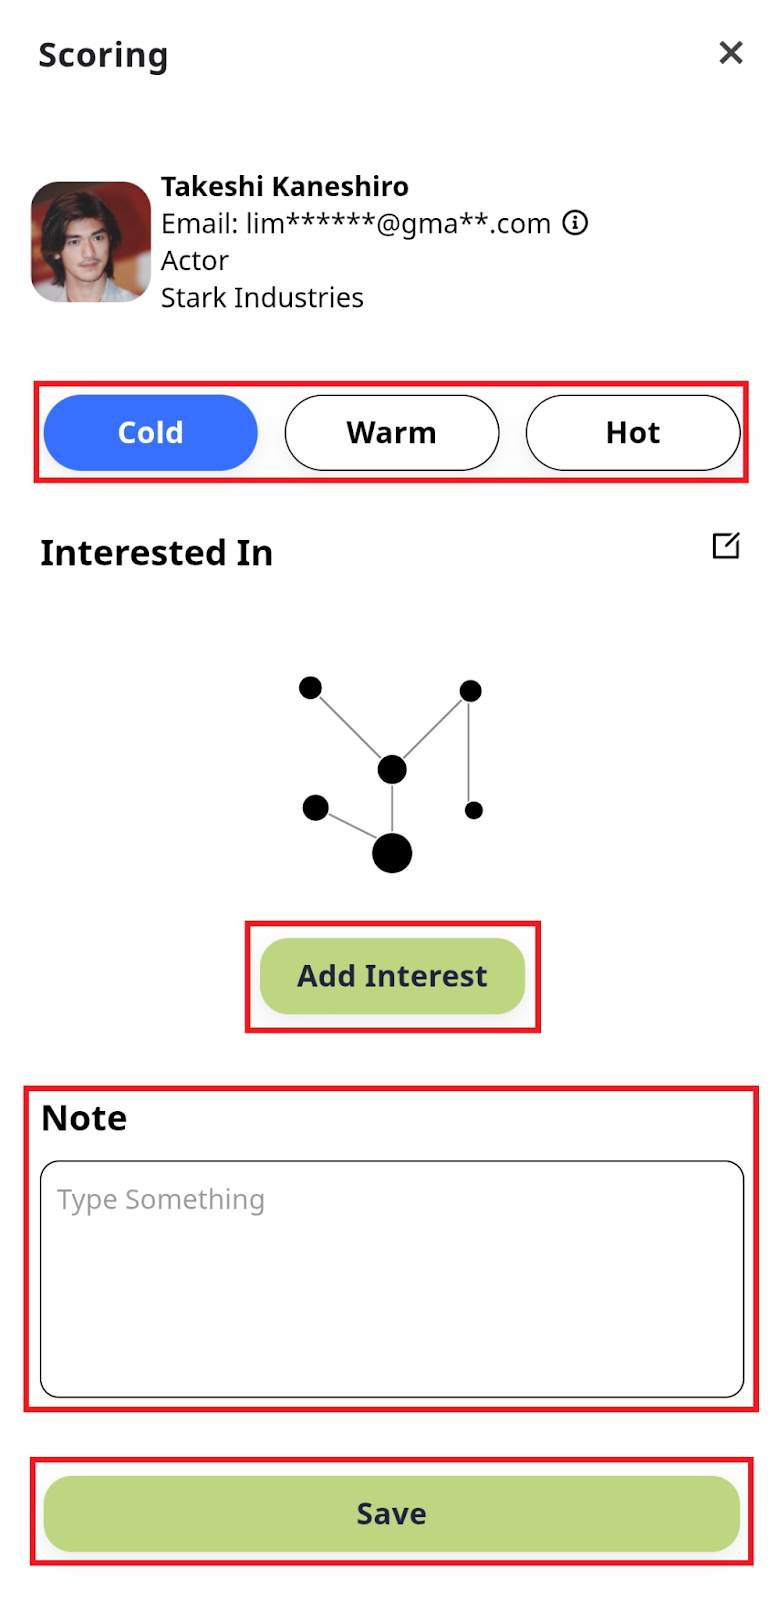
Your lead's profile will be updated with this new information.
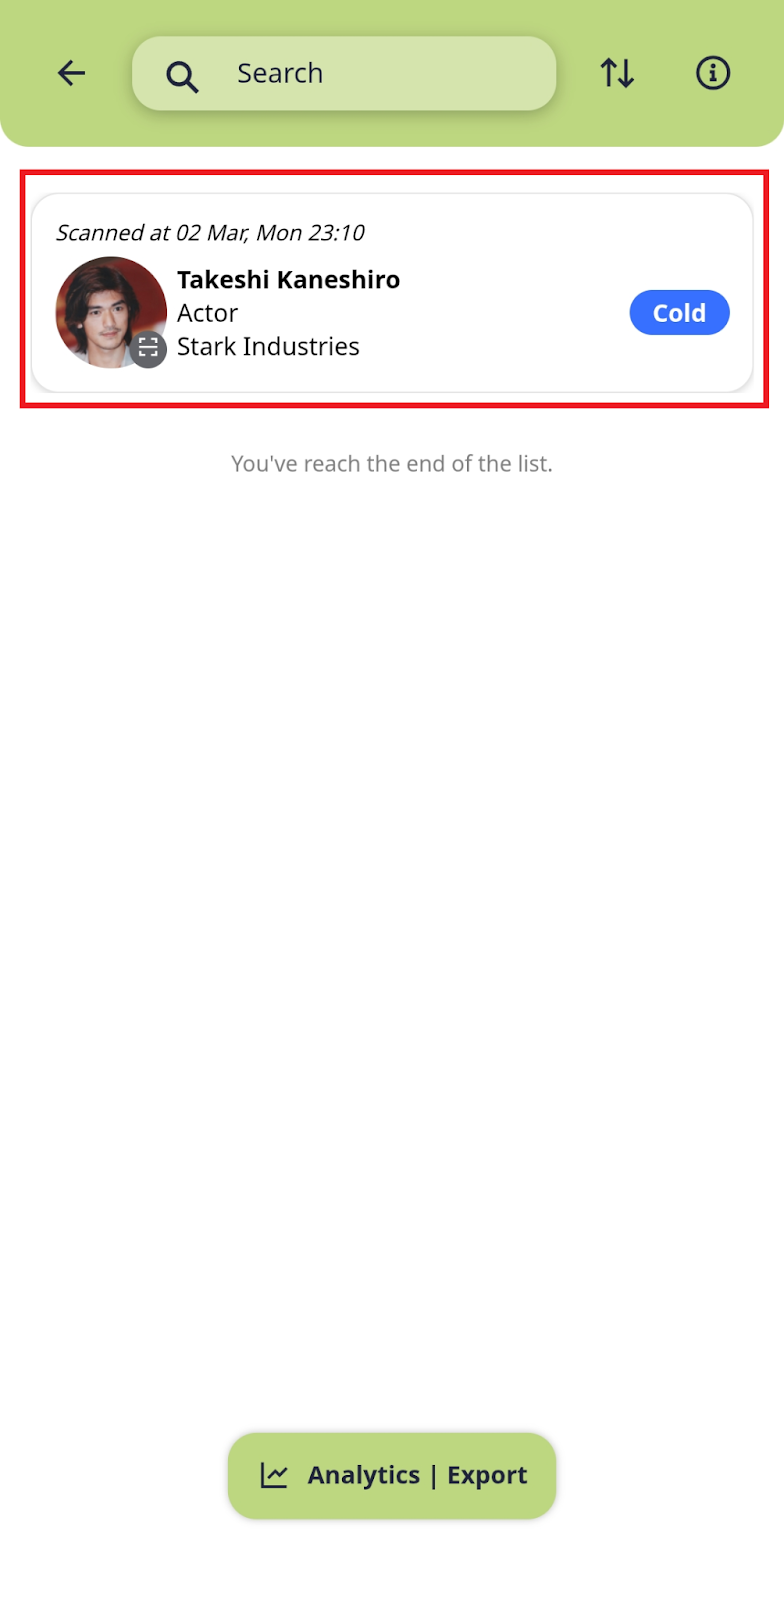
Open the [Scan] menu and tap the [Scans] button to access the Scan List page.
Select the lead you want to update.
Make the necessary changes to their scoring, interests, or notes, and save.
The lead's data will be successfully updated.
Open the [Scan] menu and tap the [Scans] button to access the Scan List page.
Select the specific leads you want to remove, swipe from right to left, and tap the [Delete] button.
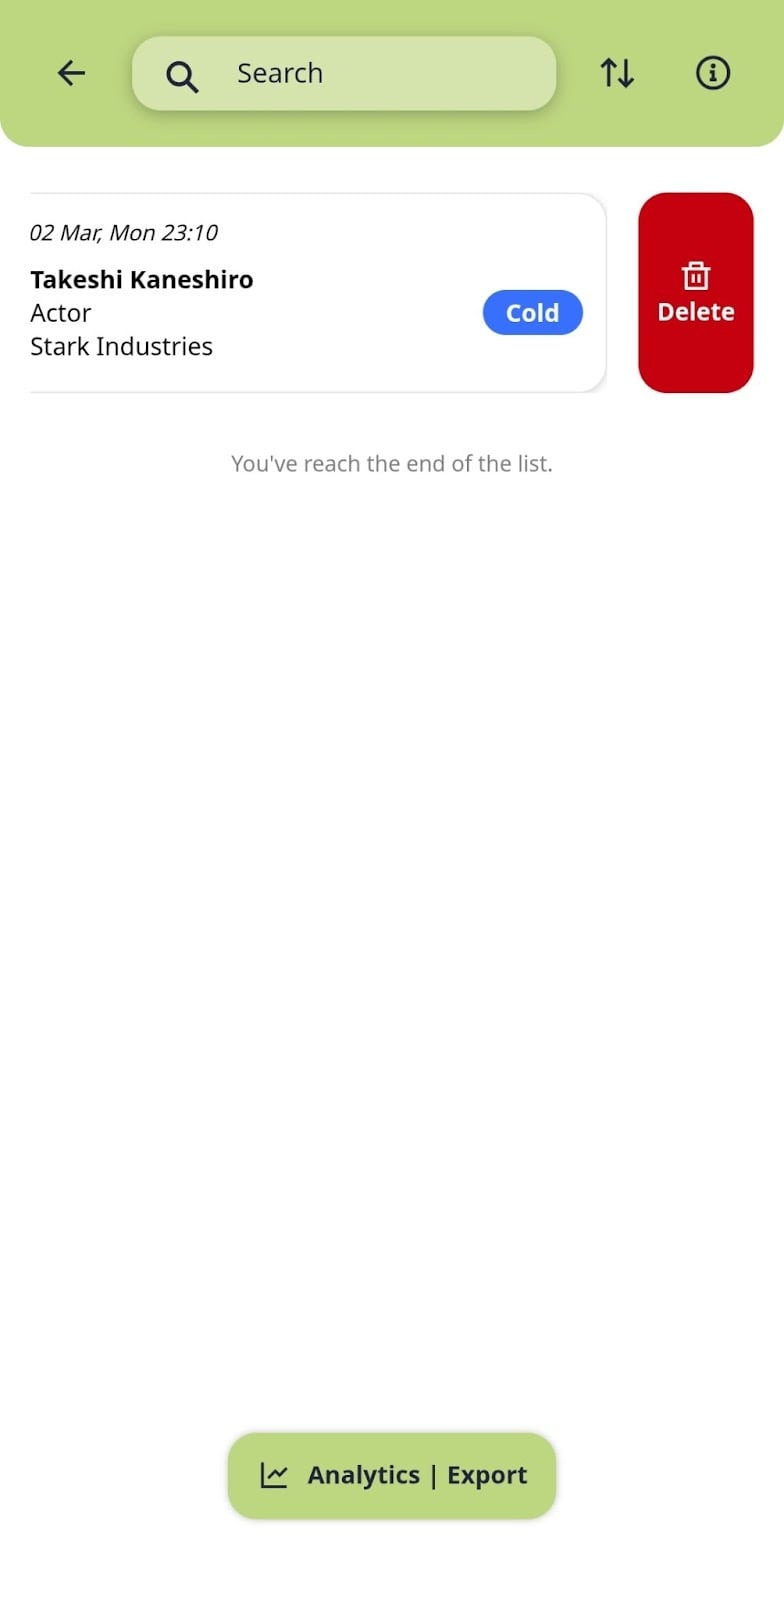
The leads will be permanently removed from your list.
You can still scan a lead's QR code during network disruptions. The app will notify you if there is no internet connection.
Point your camera at the attendee’s QR code for scanning.
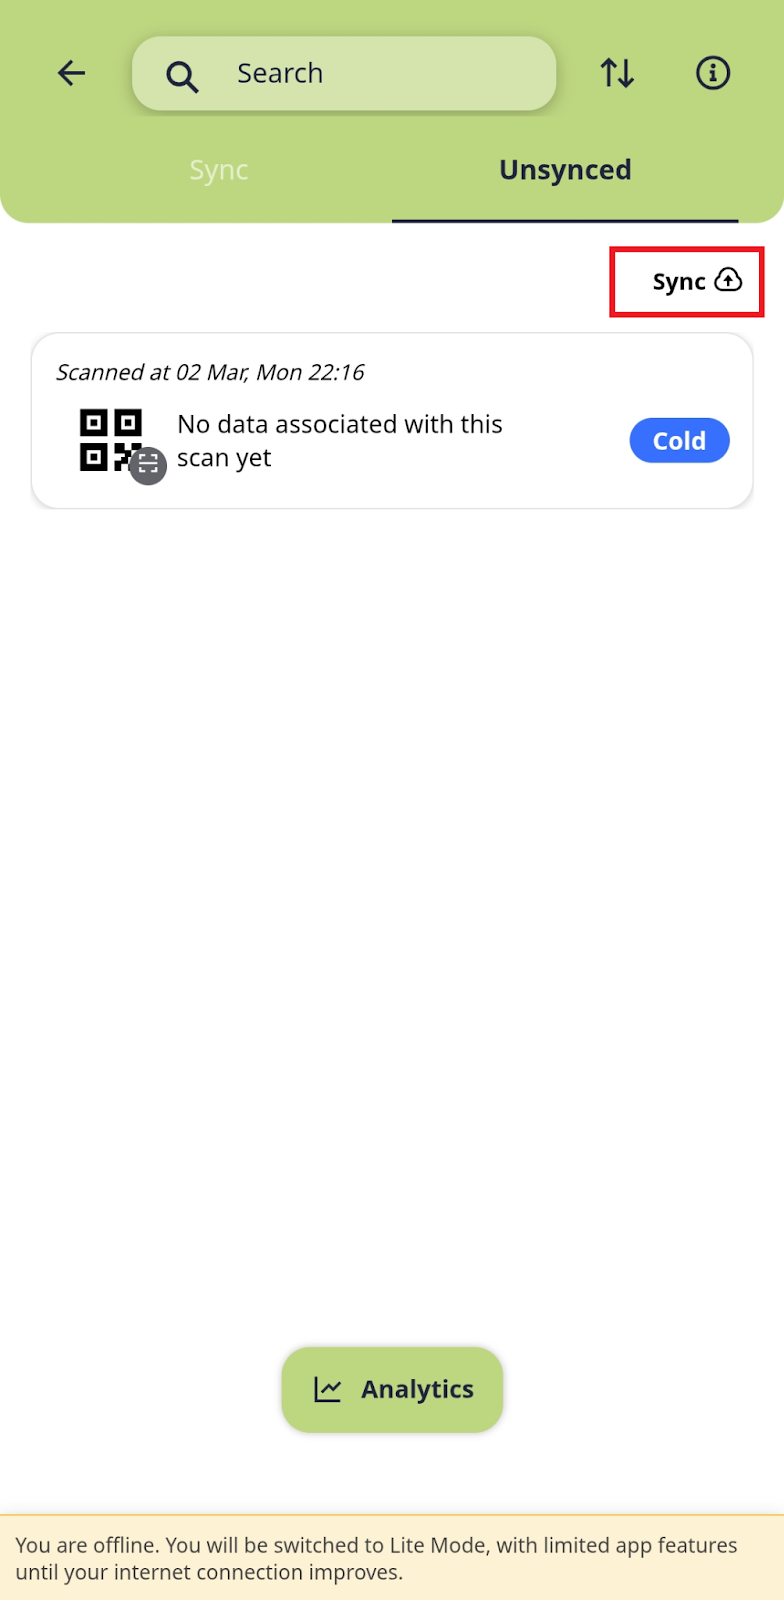
The scanned lead will be classified as unsynced data and stored in the [Unsynced] section of your Scan List.
When in Lite Mode (where there’s no connectivity), the scanned data is separated into two categories:
Synced: the data is already stored on the server.
Unsynced: the data is still on the device (local) and not yet stored on the server.
When you are back online, you must sync your offline data to the server. To sync the scanned data when you’re back online, follow these steps:
Open the [Scan] menu and tap the [Scans] button to access your list.
Navigate to the [Unsynced] section and click the [Cloud] icon.
Your local data will be successfully pushed and stored on the server.
Please note that data under scan analytics is only recorded during the event days.
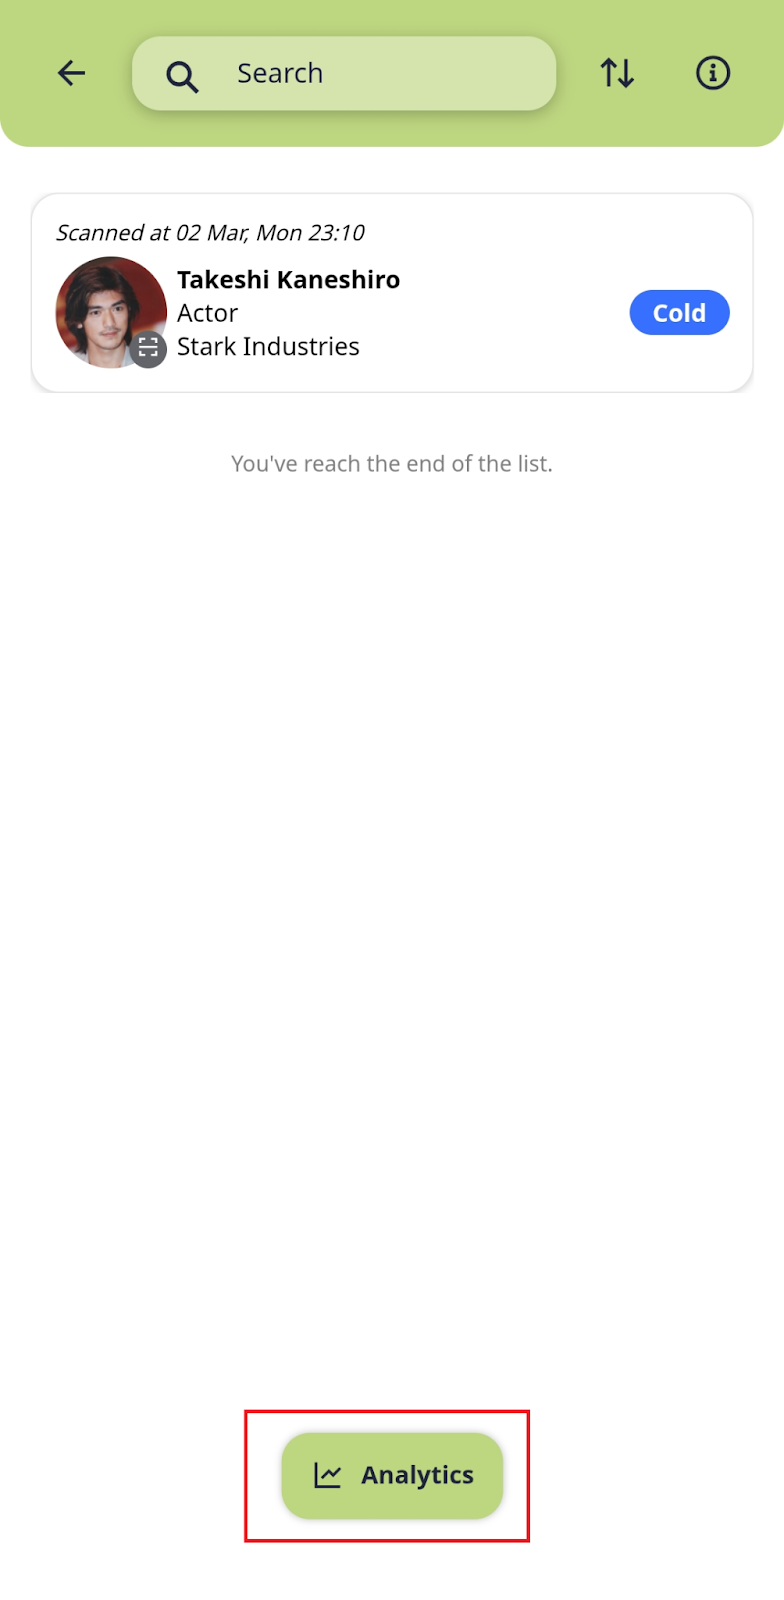
Open the [Scan] menu and tap the [Scans] button.
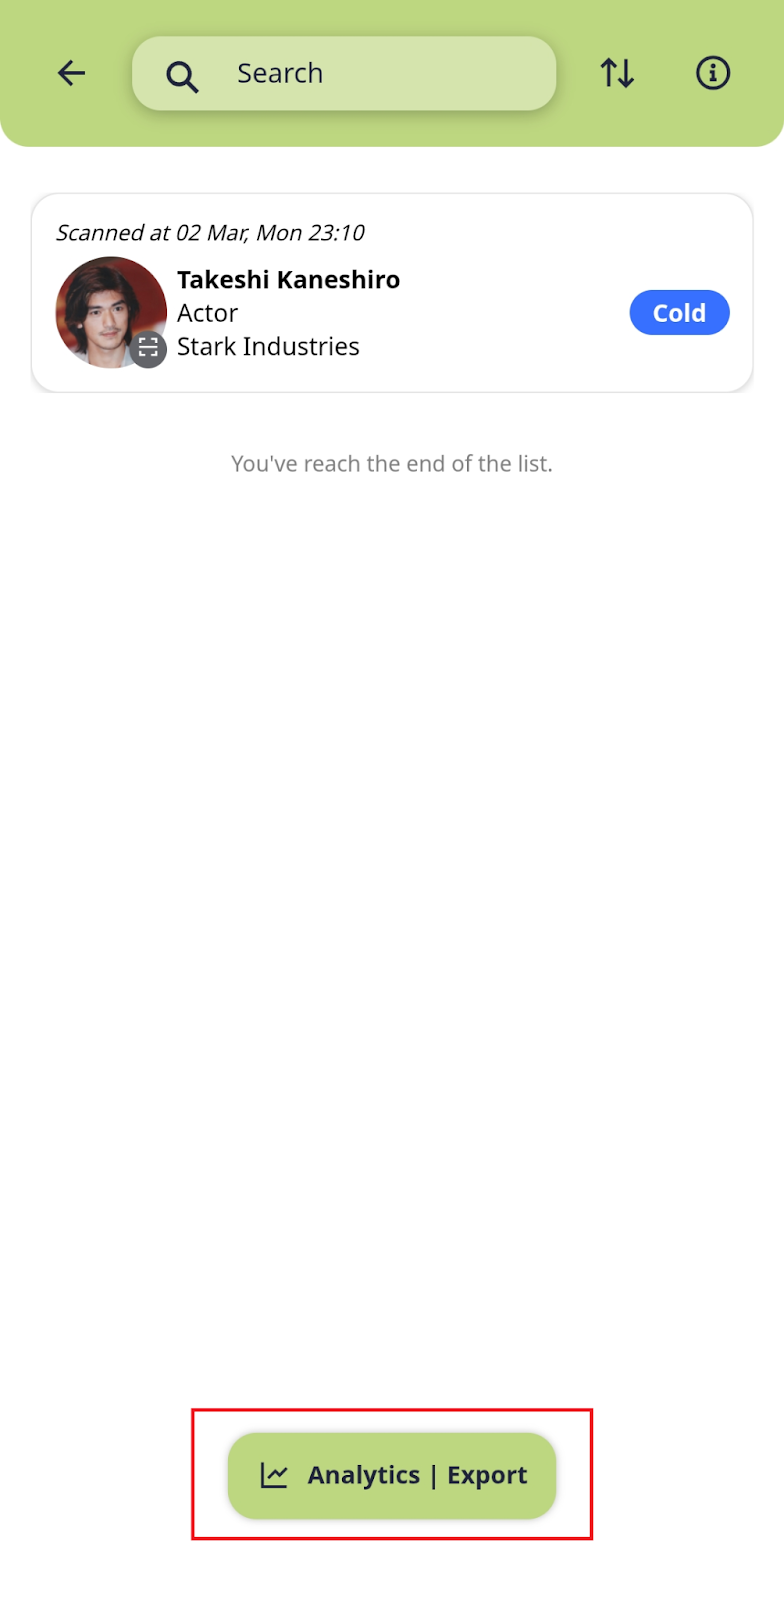
Tap the [Analytics] or [Analytics]|[Export] (if you are the admin) button to open the Scan Analytics page.

Use the available filters to view analytics by your company or individual scan activity.
Open the [Scan] menu and tap the [Scans] button.
Tap the [Analytics]|[Export] button.
Tap the [Export] button.
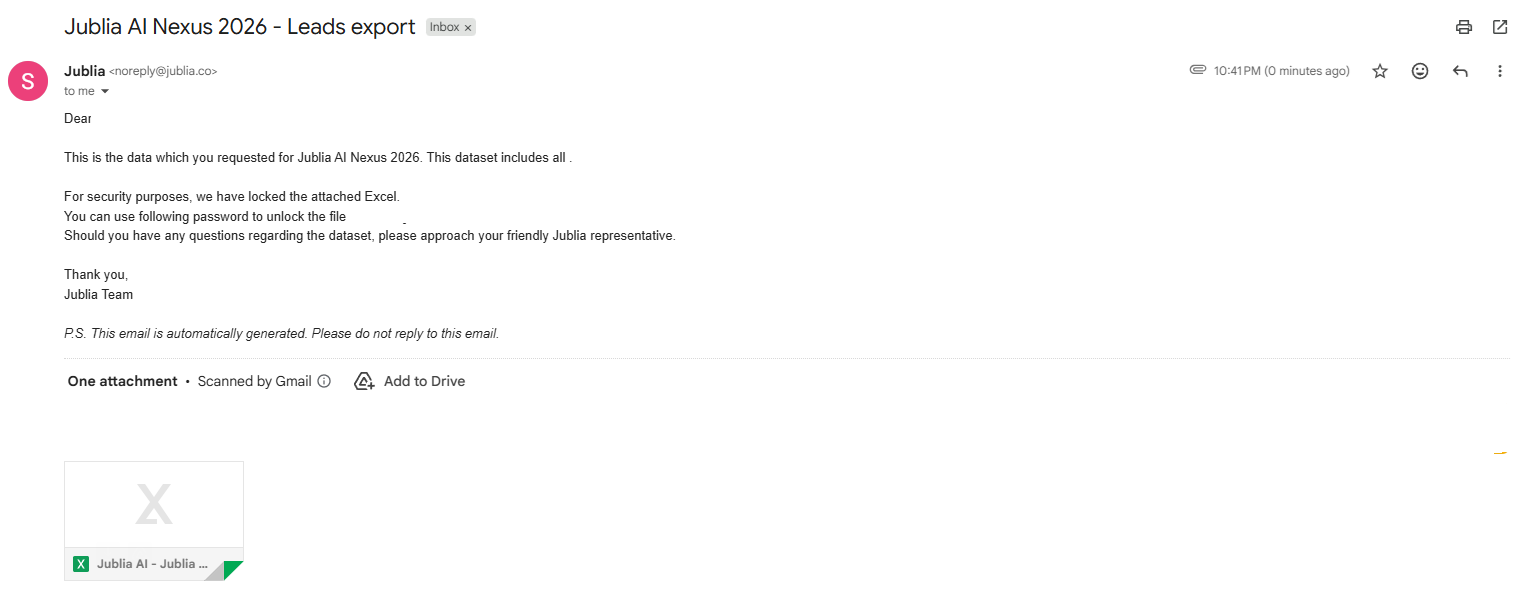
A leads report will be generated and sent to your registered email.
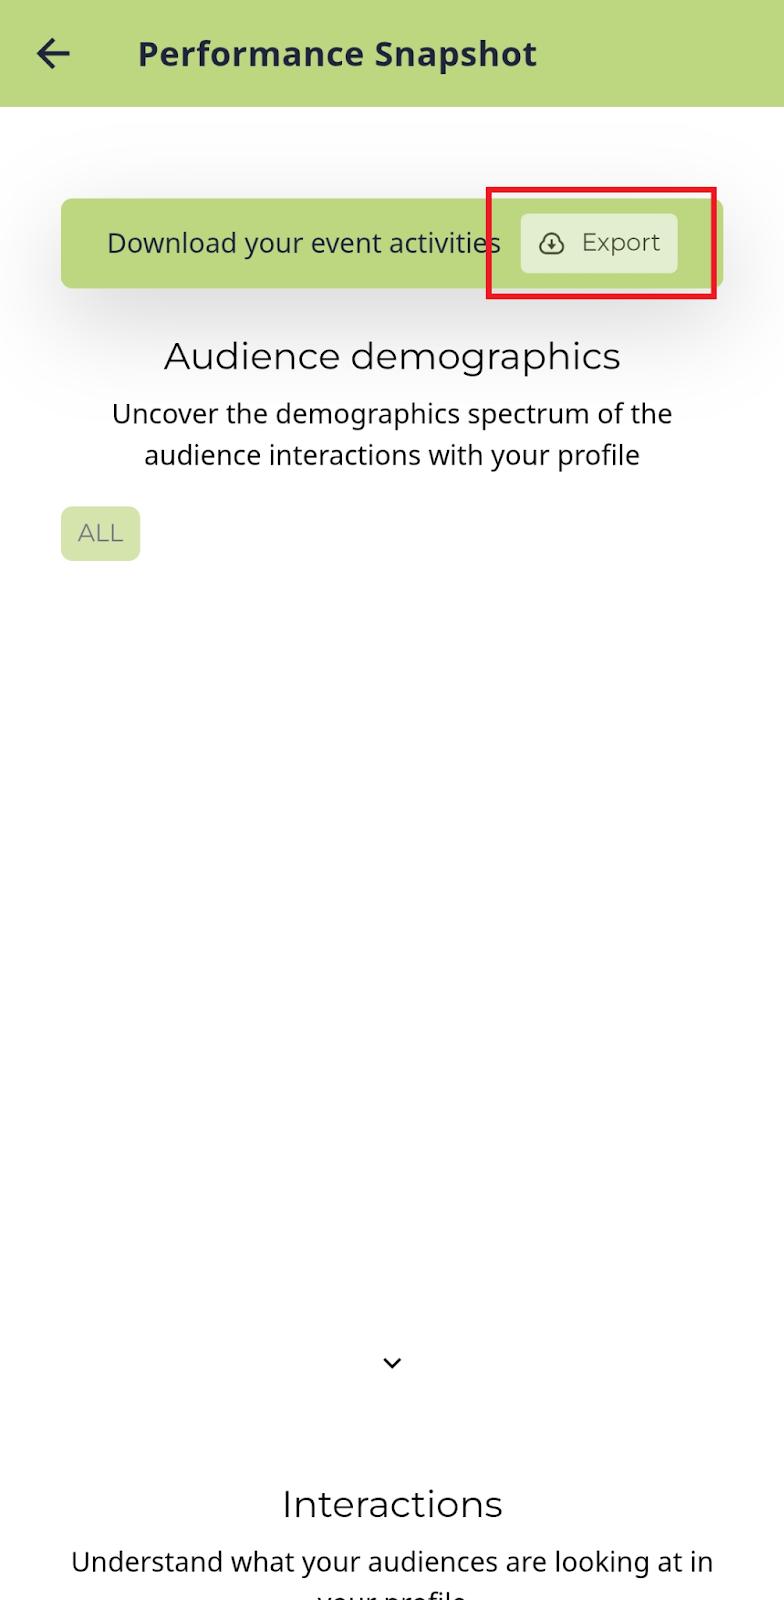
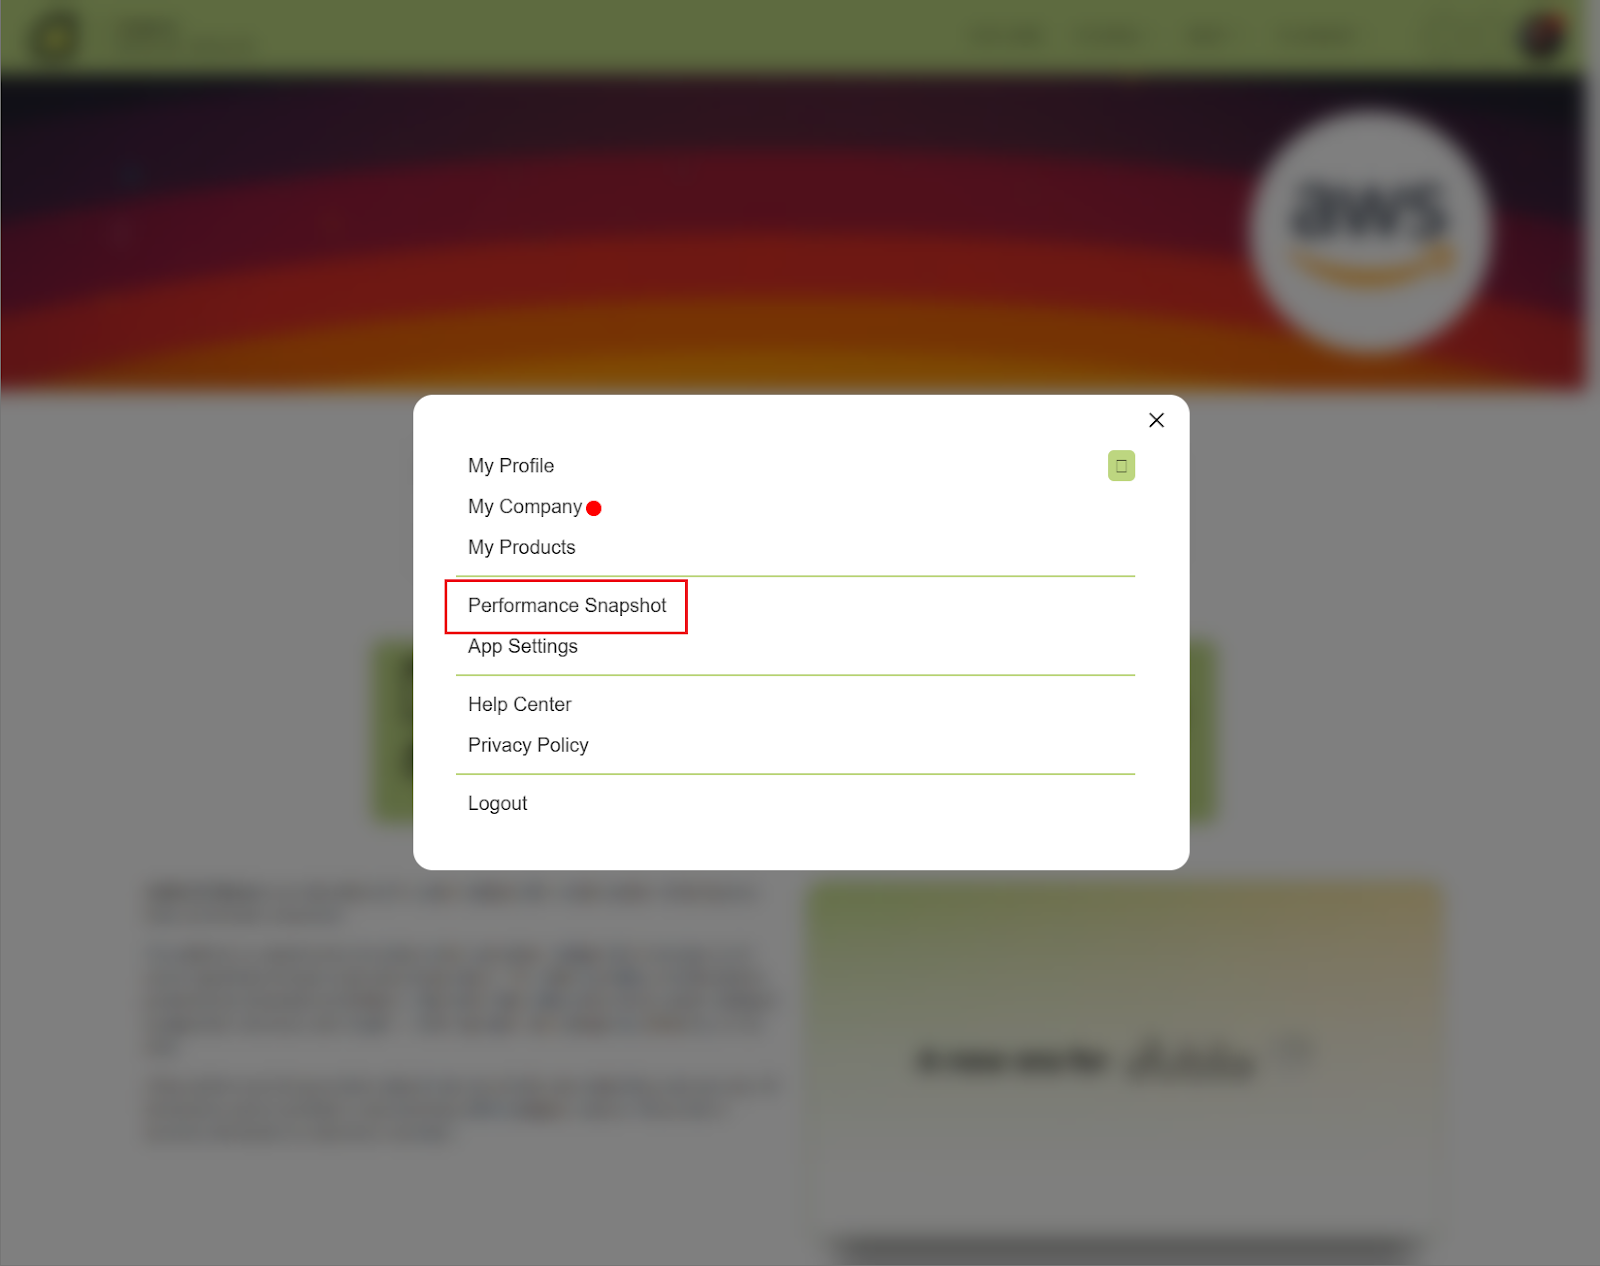
Click your [Profile Icon] at the top right corner and select [Performance Snapshot]. The analytics dashboard will load.
Click the [Export] button.
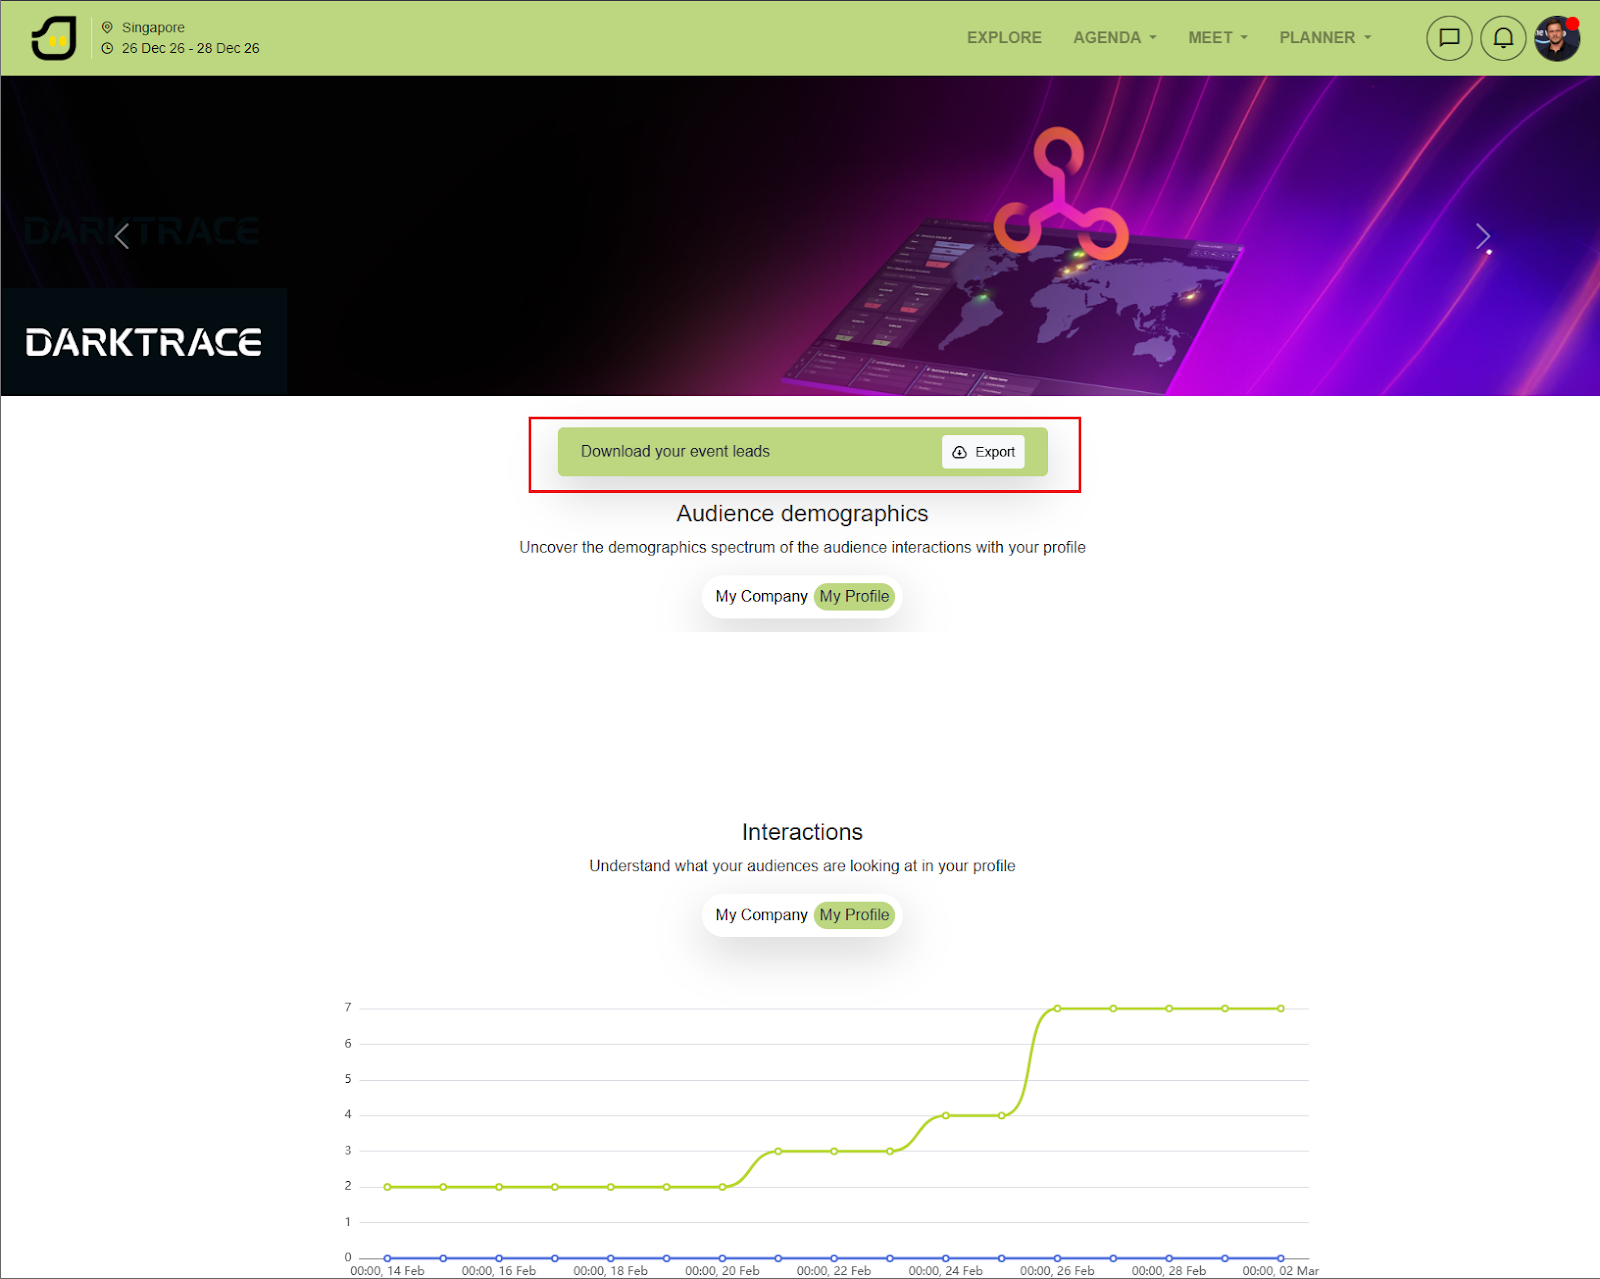
A spreadsheet containing all leads made at the event will be generated and sent to your registered email (this may take up to 30 minutes).
If meetings or scans are not made, no data will be available for exporting.
While representatives can only view their own personal scans within the app, the final exported lead report will automatically consolidate all scans collected by every representative in the company.